How To Replace Bathroom Vanity Top With Granite
This post is Part 6: Fitting the Granite Top in the series where I am building a 60″ DIY bathroom vanity from scratch. Be sure to check out the other parts in this series:
- Part 1: Attaching Legs and a Base
- Part 2: Attaching the Sides
- Part 3: Creating the Partitions
- Part 4: Making Drawers
- Part 5: Making Cabinet Doors
- Part 6: Fitting the Granite Vanity Top
- Part 7: Finishing the Oak Vanity
- BEFORE & AFTER: The Final Master Bathroom Makeover Reveal!

SKIP AROUND THIS POST
No time to read the entire post? No problem! Skip around each section! 🙂
Going to Pick Out the Granite Top
Test Fitting the Granite Top
Installation Day: Mounting the Sinks
Cutting Down the Partitions
Cutting Holes for the Faucets
Uh Oh! The Drawers Don't Fit!
Going to Pick Out the Granite Top
When we bought our house in 2010, our Realtor has recommended Edmundo to us for replacing our kitchen cabinets. He did some other small projects in the house, like ripping out and replacing the wood paneling in the family room.
He was a cool guy and has always been one of my biggest supporters when it comes to my DIY projects!
I've asked him over the years to help with other projects (like when I replaced my back door).
So when he found out that I was doing this vanity, he was impressed and wanted to help.
Since he owns his own granite installation and contracting company, he knows his stuff when it comes to granite!
Plus, he's got connections with local granite suppliers.
I was shocked when Edmundo said he would help me get the granite for my DIY bathroom vanity and that I should consider it a "birthday and Christmas" gift!
Seriously, I couldn't believe his kindness!
Off he sent me to the granite yard to pick out a remnant from one of his suppliers.
When I arrived, I was excited to find there were so many choices!

I immediately saw this white piece of granite with flecks of gray in it.
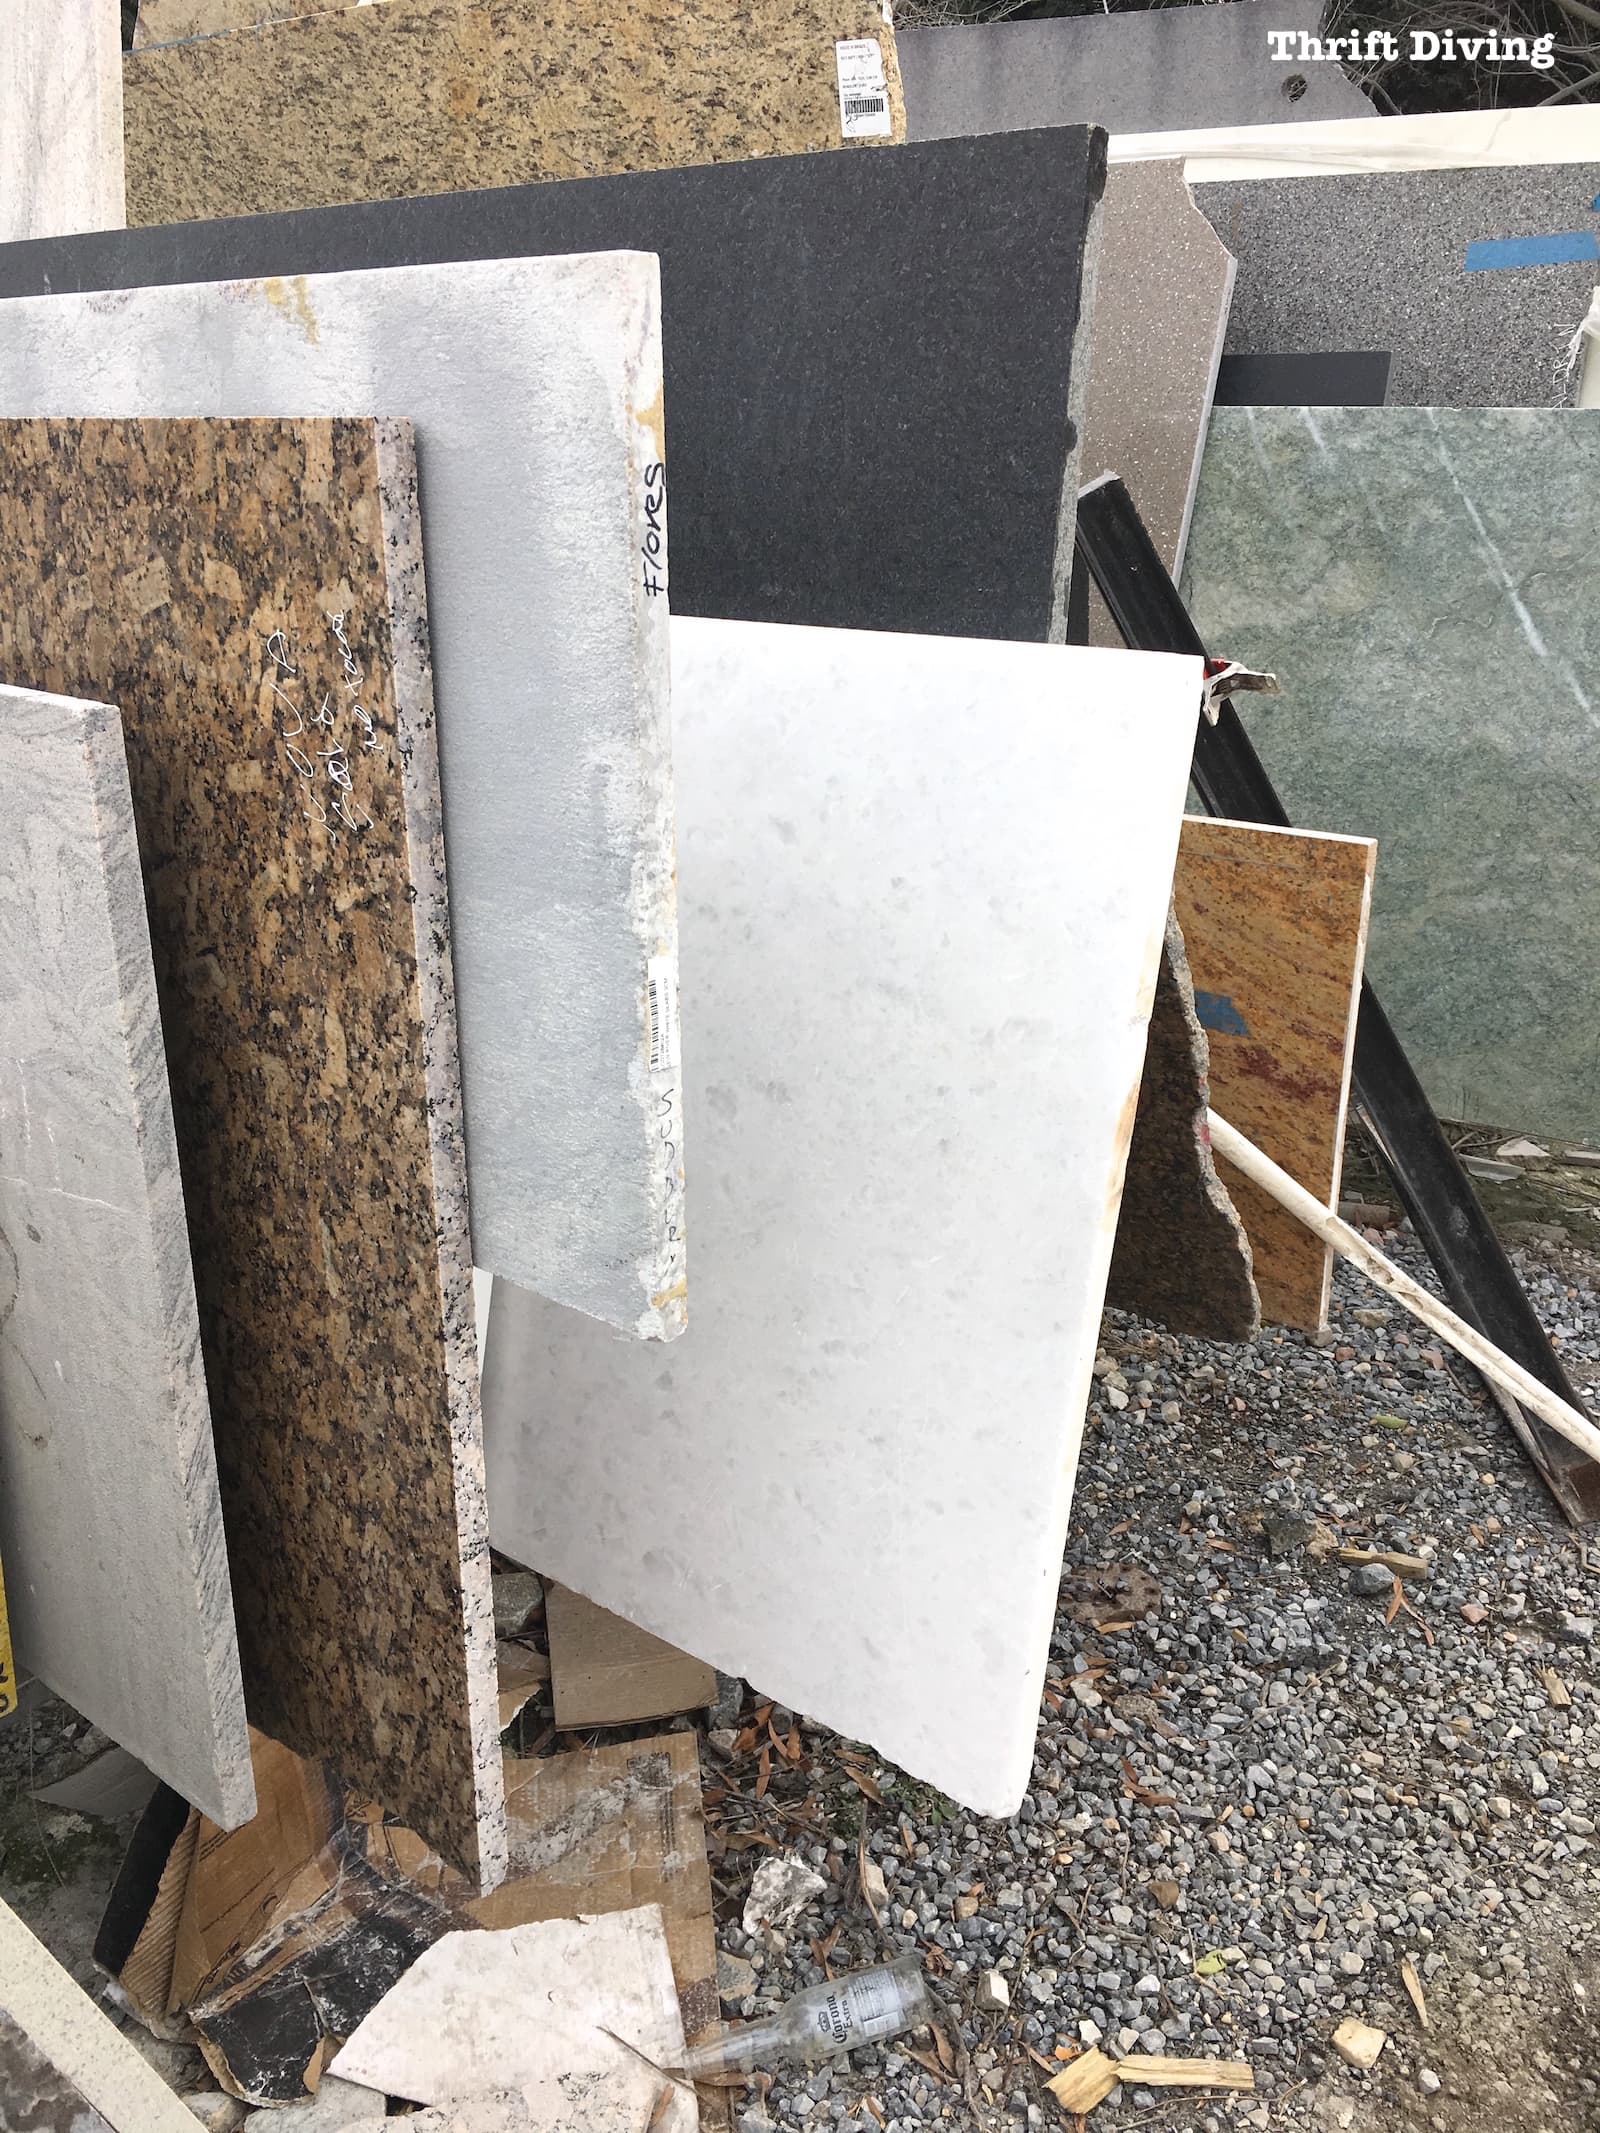
It was perfect!
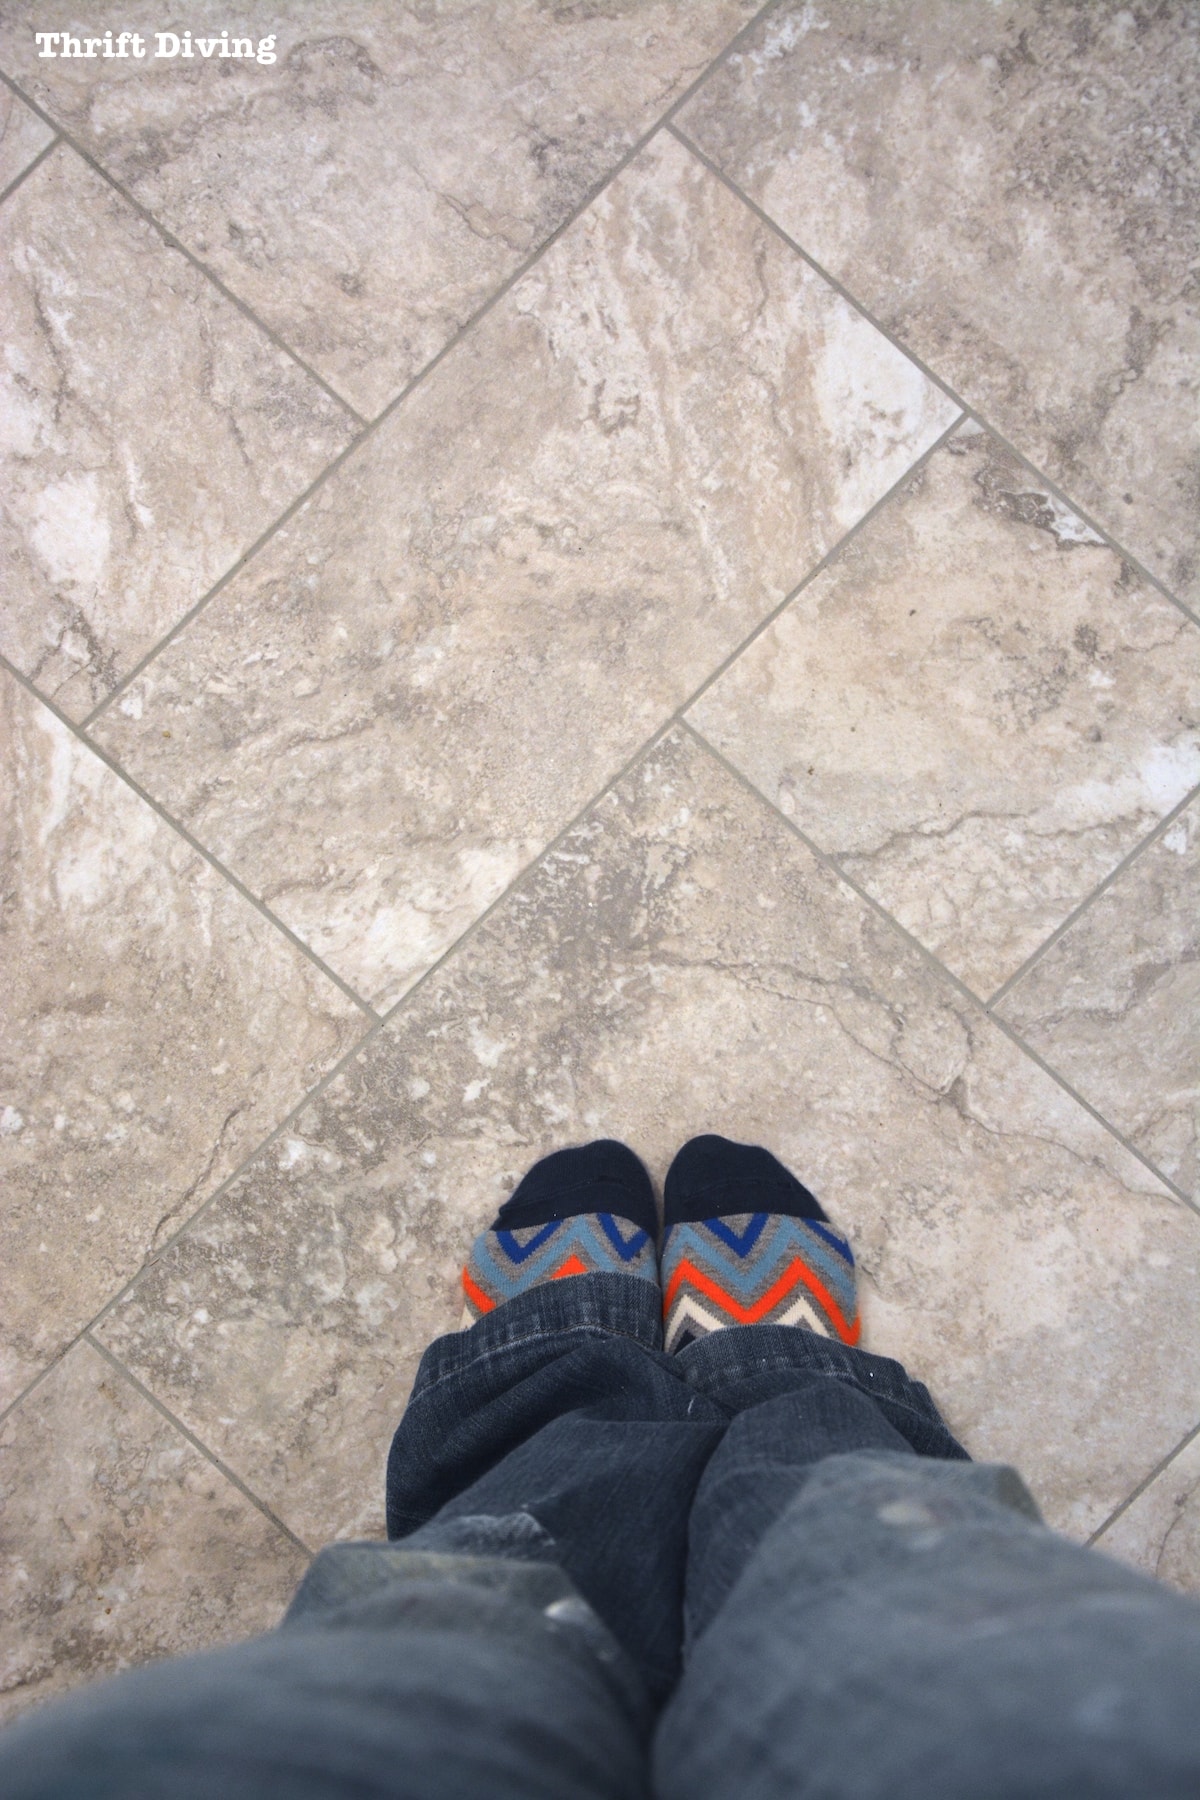
If you remember my new flooring from Carpet One, this floor (which looks like marble but is vinyl), the pattern had a lot going on.
So I needed to keep the granite top as simple as possible, so as not to compete with the flooring.
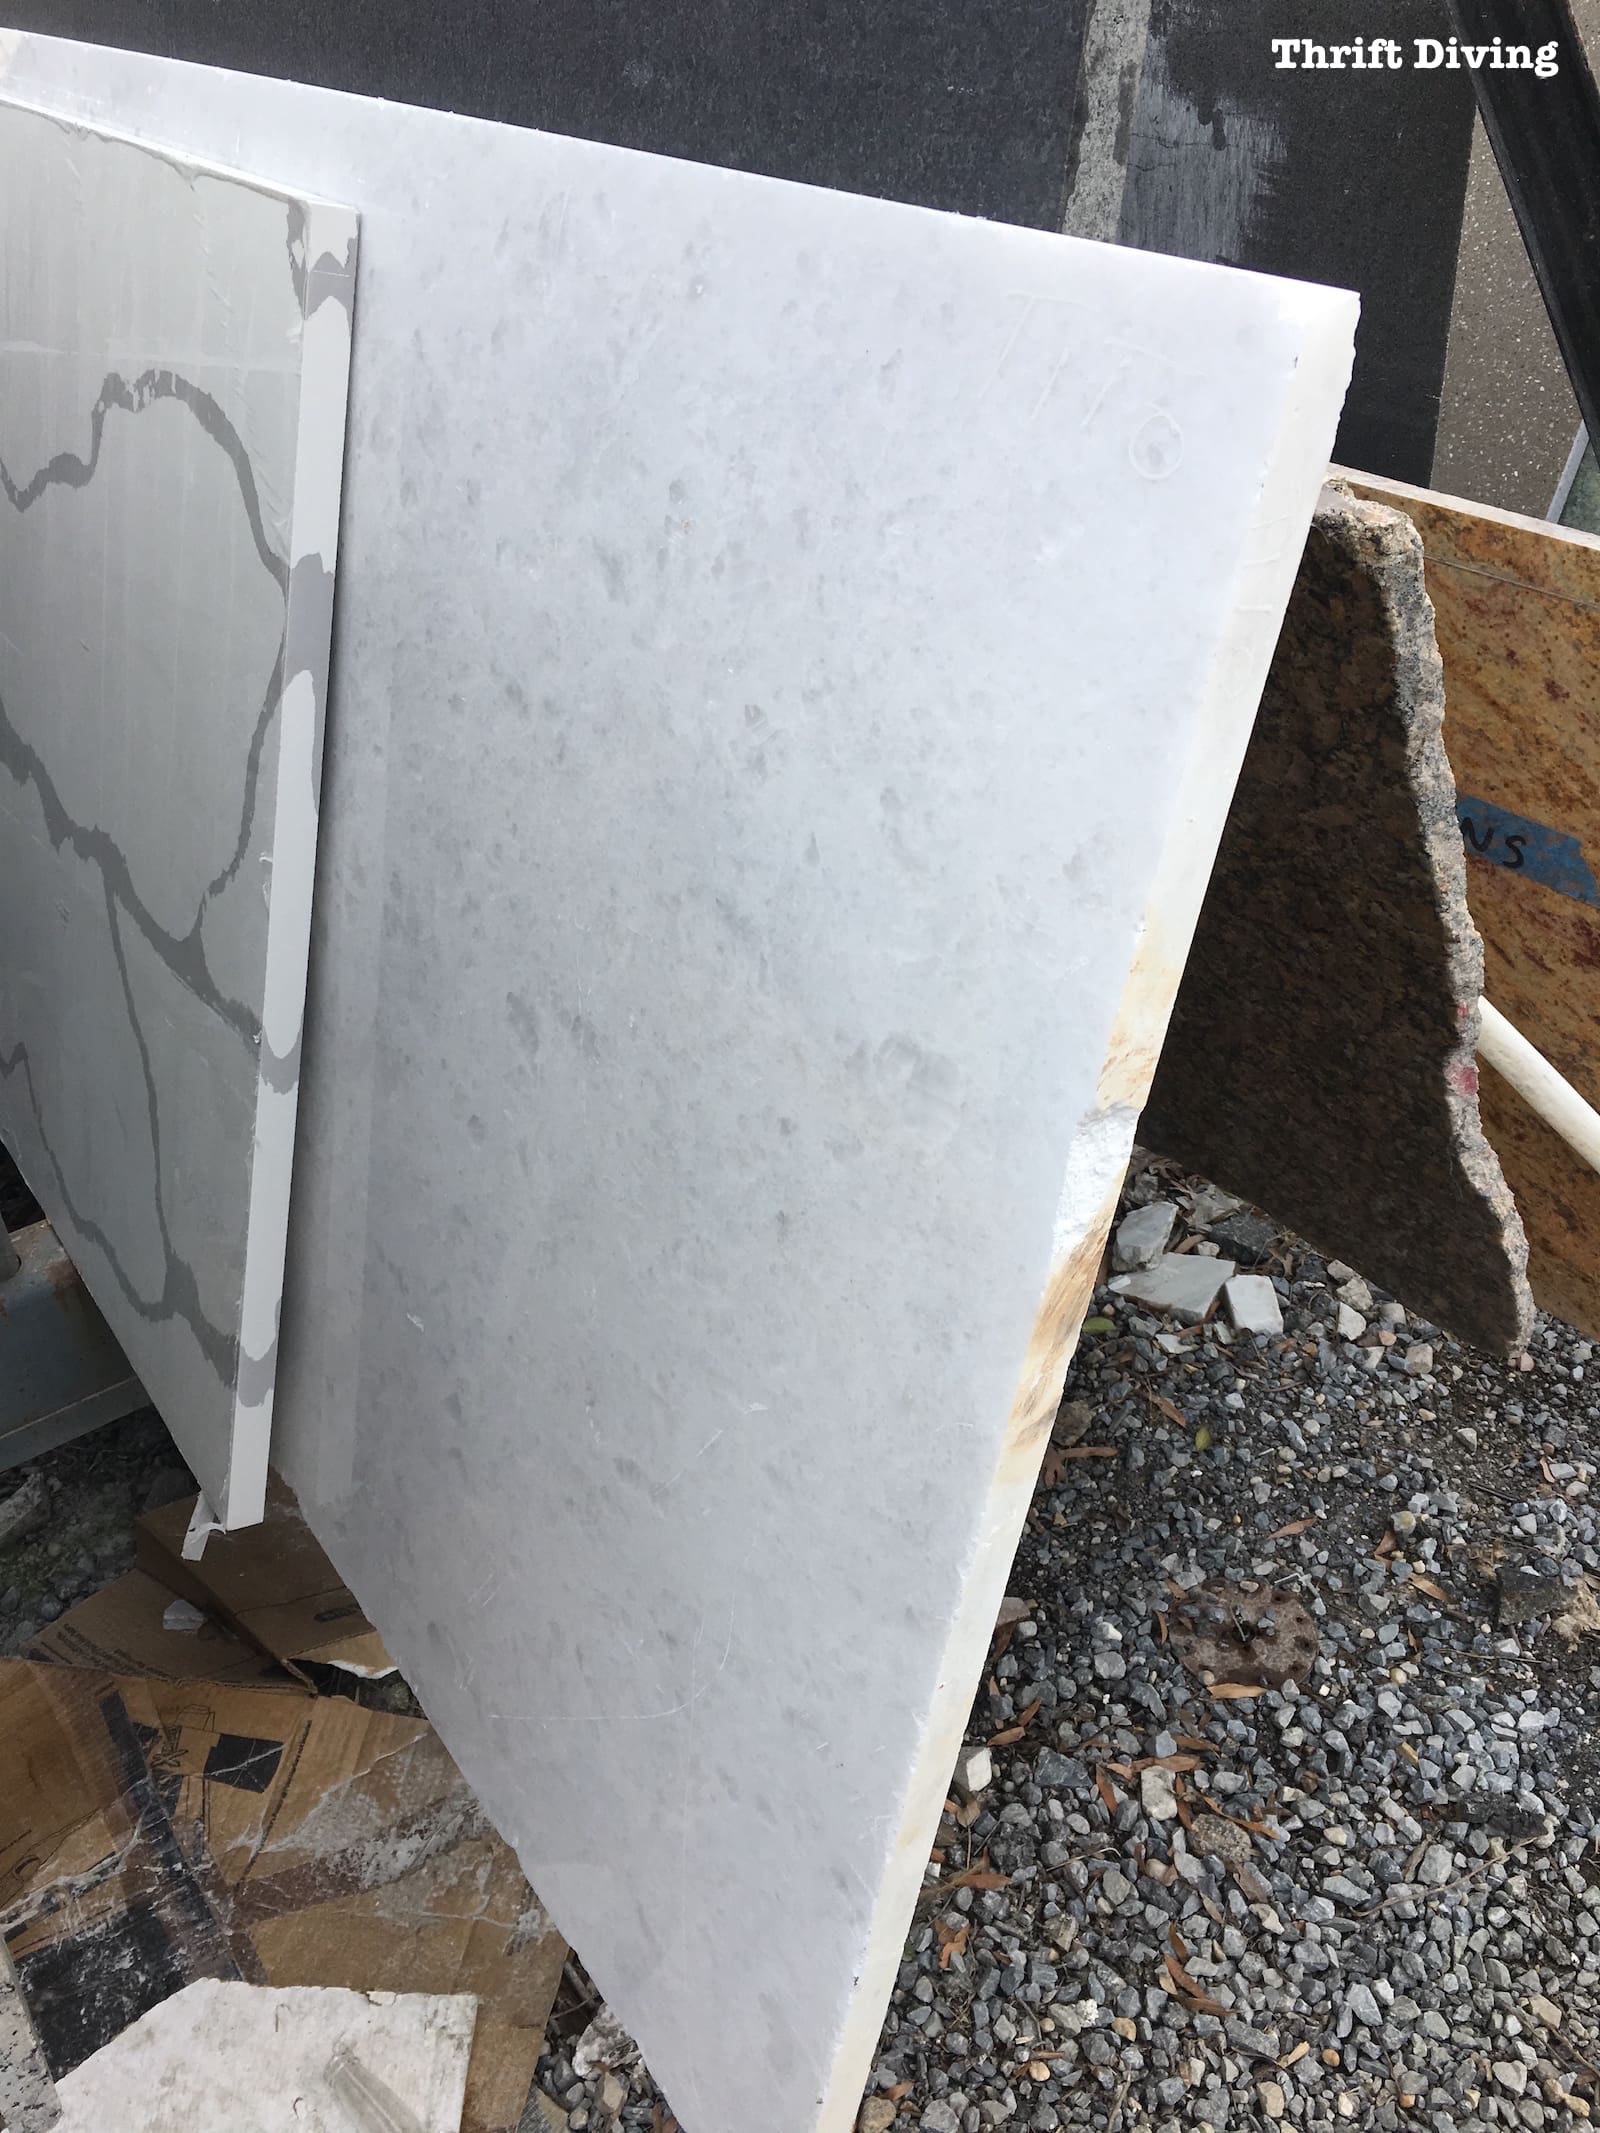
But unfortunately, there was some man's name on it: TITO.
Who the heck was TITO and why did he need to lay claims on this granite that was so perfect?
Thankfully, the manager called this Tito fella and Tito couldn't remember even laying claim to this piece.
So guess who got to select it?? 🙂
Woo hoo!
Test Fitting the New Granite Vanity Top
Edmundo and his worker guy came over one day after the granite place had cut and buffed it, wanting to see how well it fit on the vanity.
I'm sure you see what the problem was, right?
Yep–those partitions that I posted about in this DIY vanity series, Part 3: Creating the Partitions.
I knew that I would have to cut them down, but I didn't now how much.
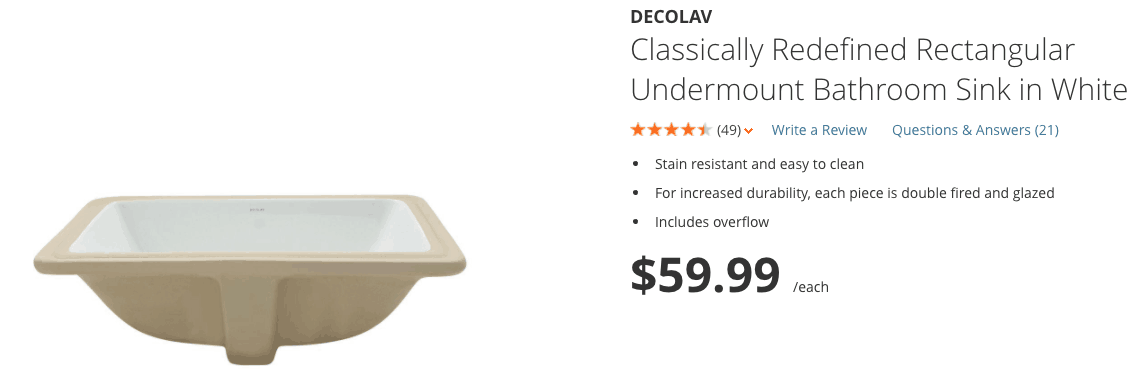
I had planned to use these DECOLAV rectangular under mount bathroom sinks from The Home Depot. For $59 each, they were a great price, and had glowing reviews!
But we didn't know how deep down we needed to trim the partitions.
So, during the test fit, we realized that:
- I would have to cut the partitions down maybe 1.5″ (which later ended up being 5″! Keep reading…)
- The granite was too deep for the vanity, so we'd had to cut a slice out of the drywall
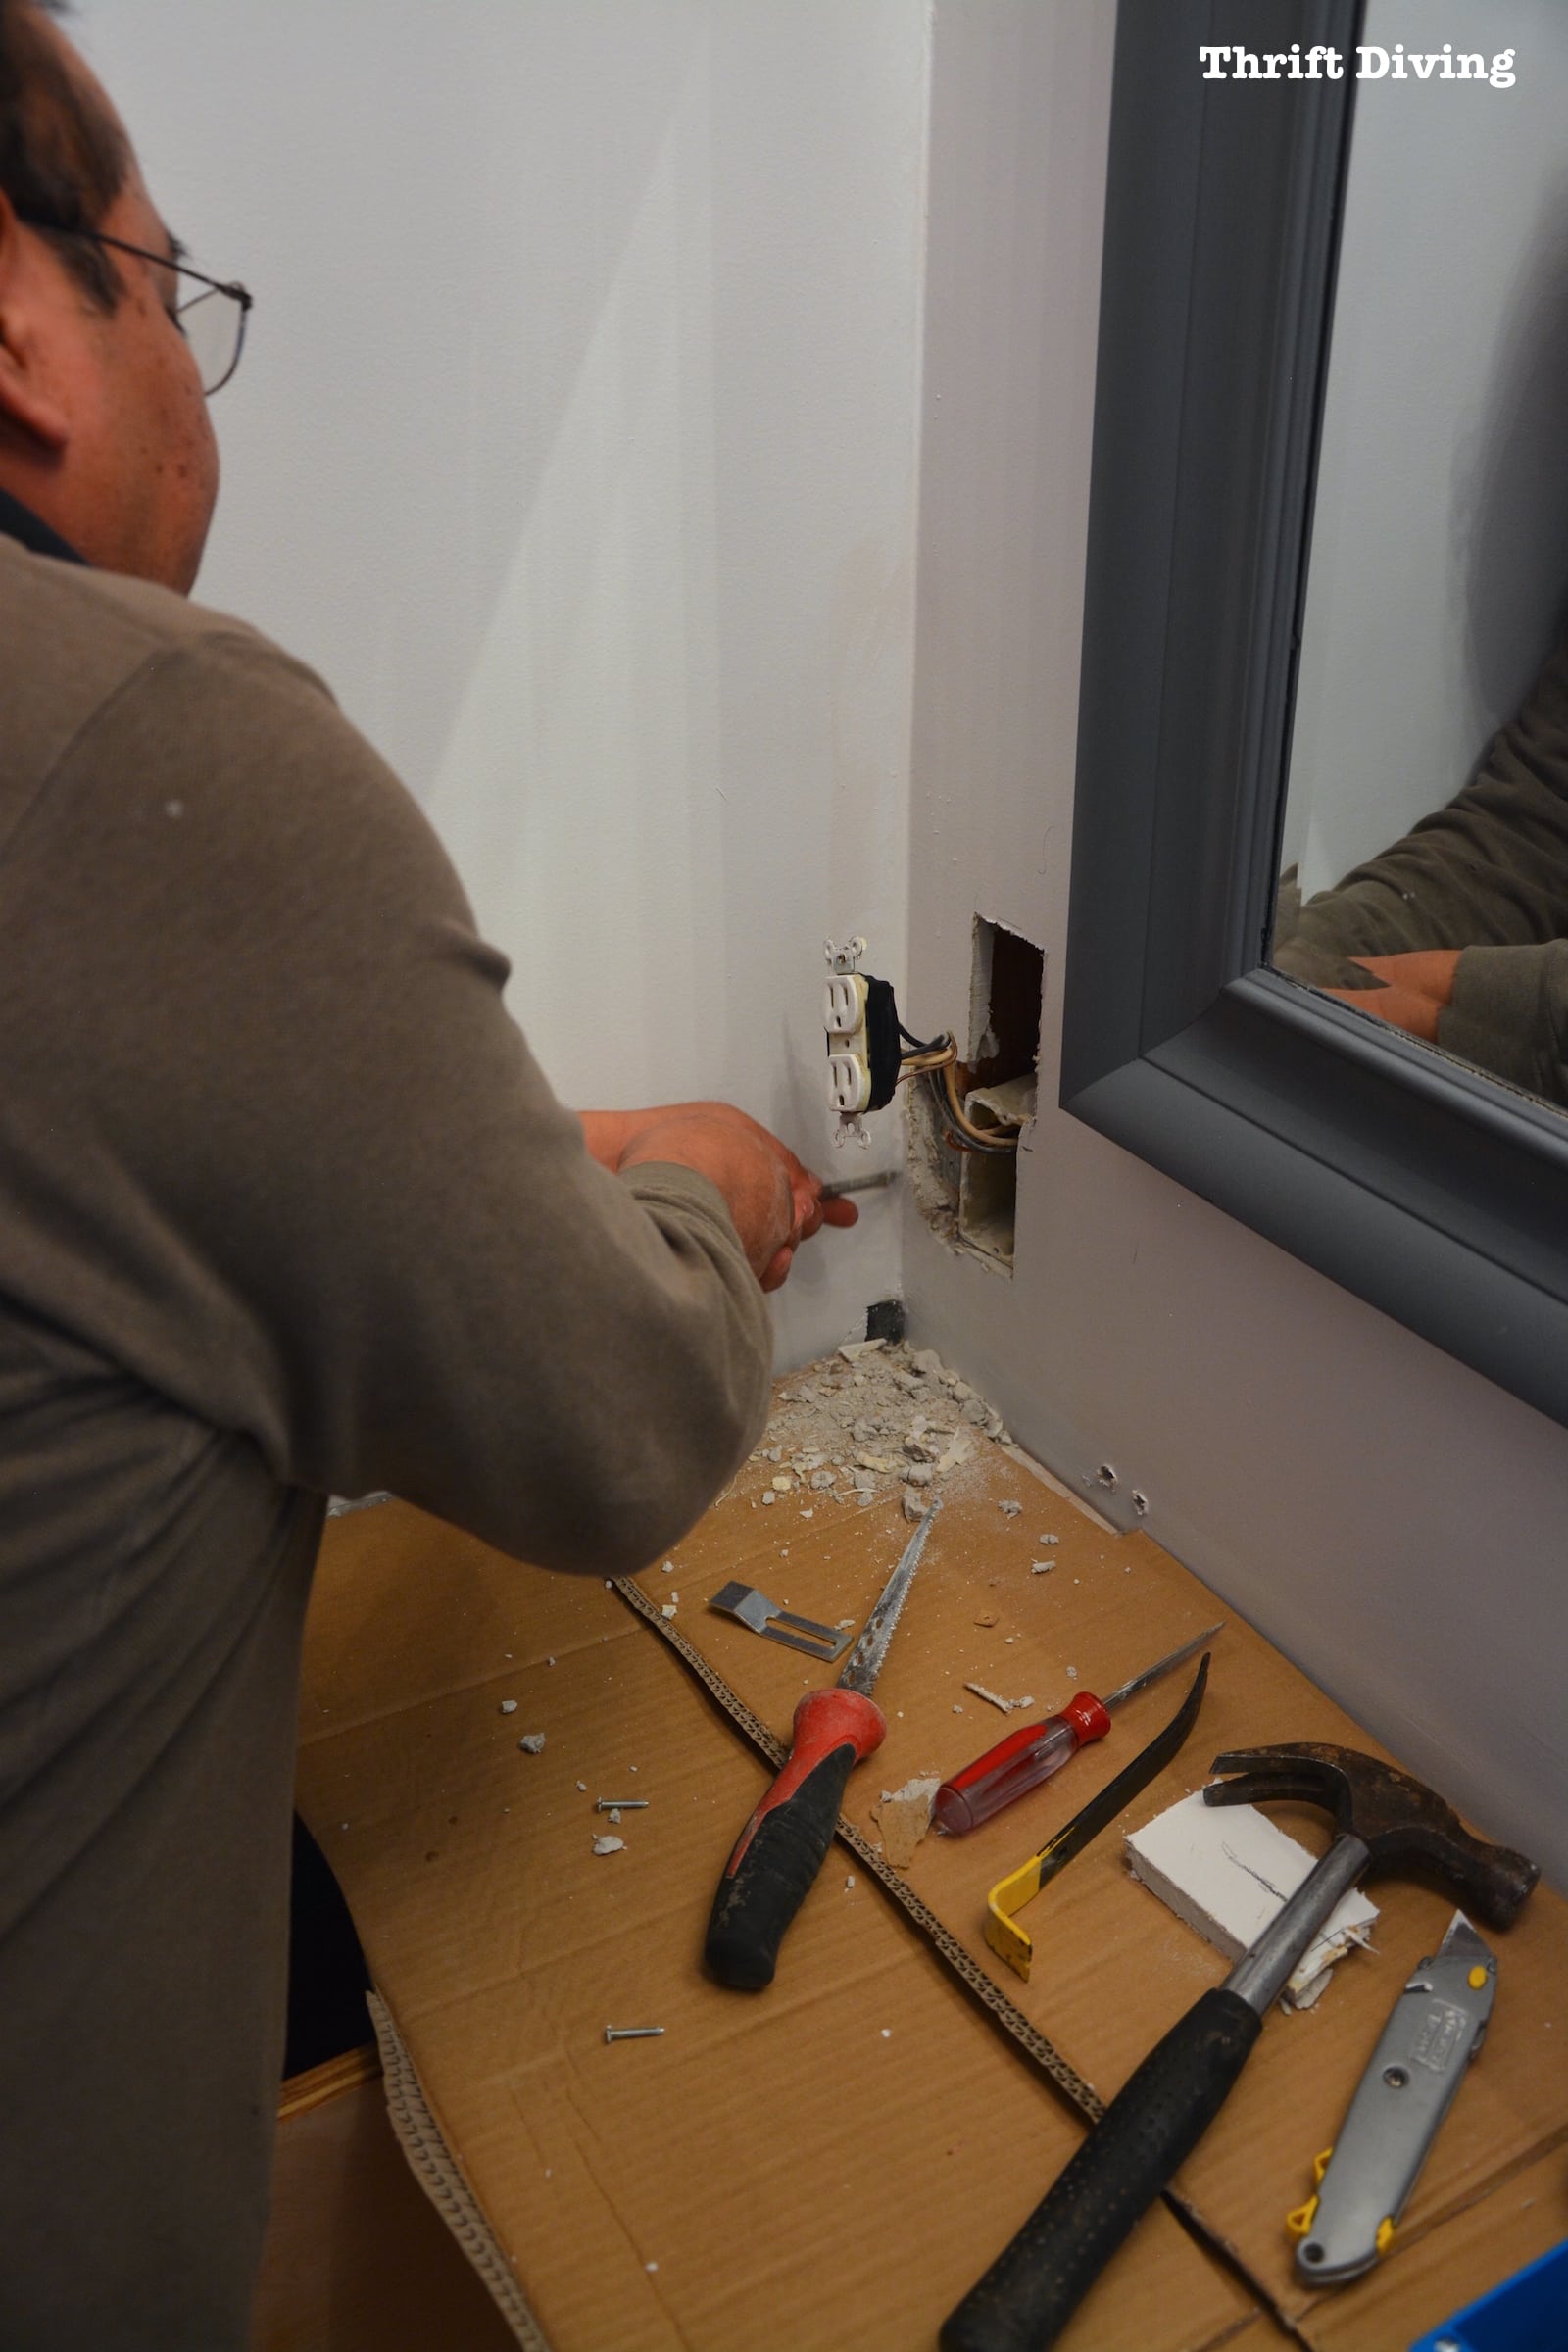
- The electrical outlet would need to be moved up to fit the granite backsplash
Installation Day: Mounting the Sinks
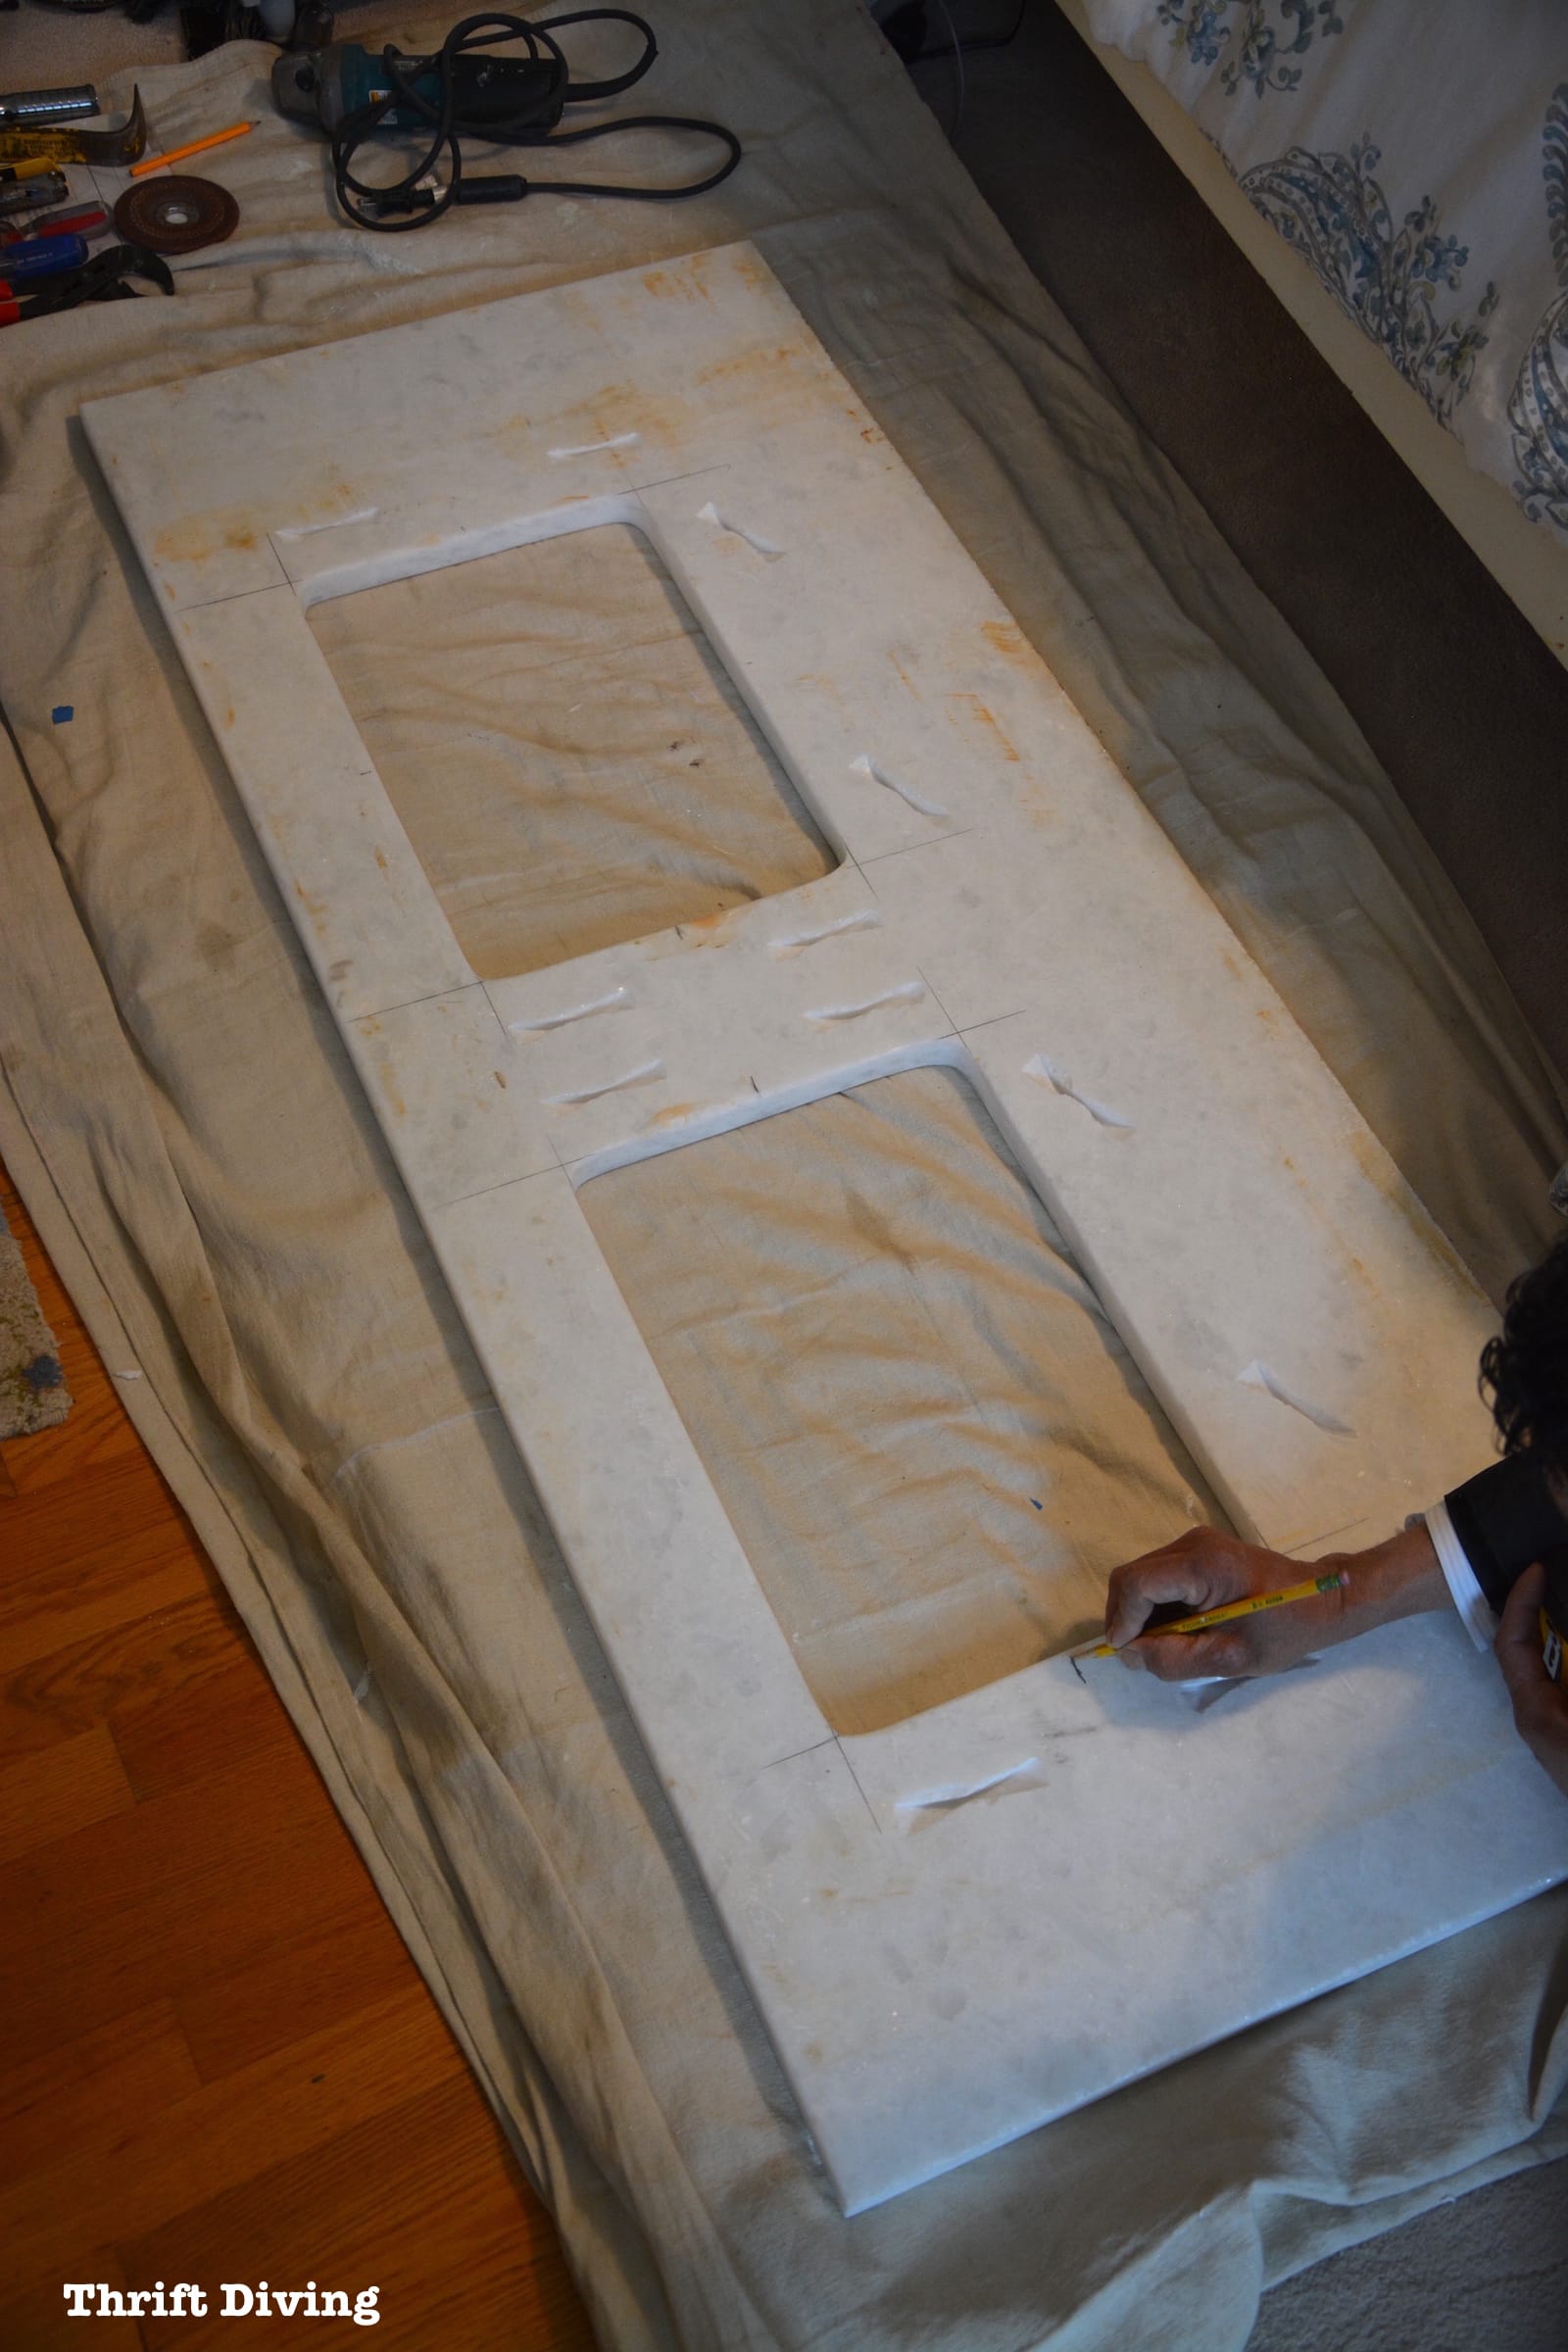
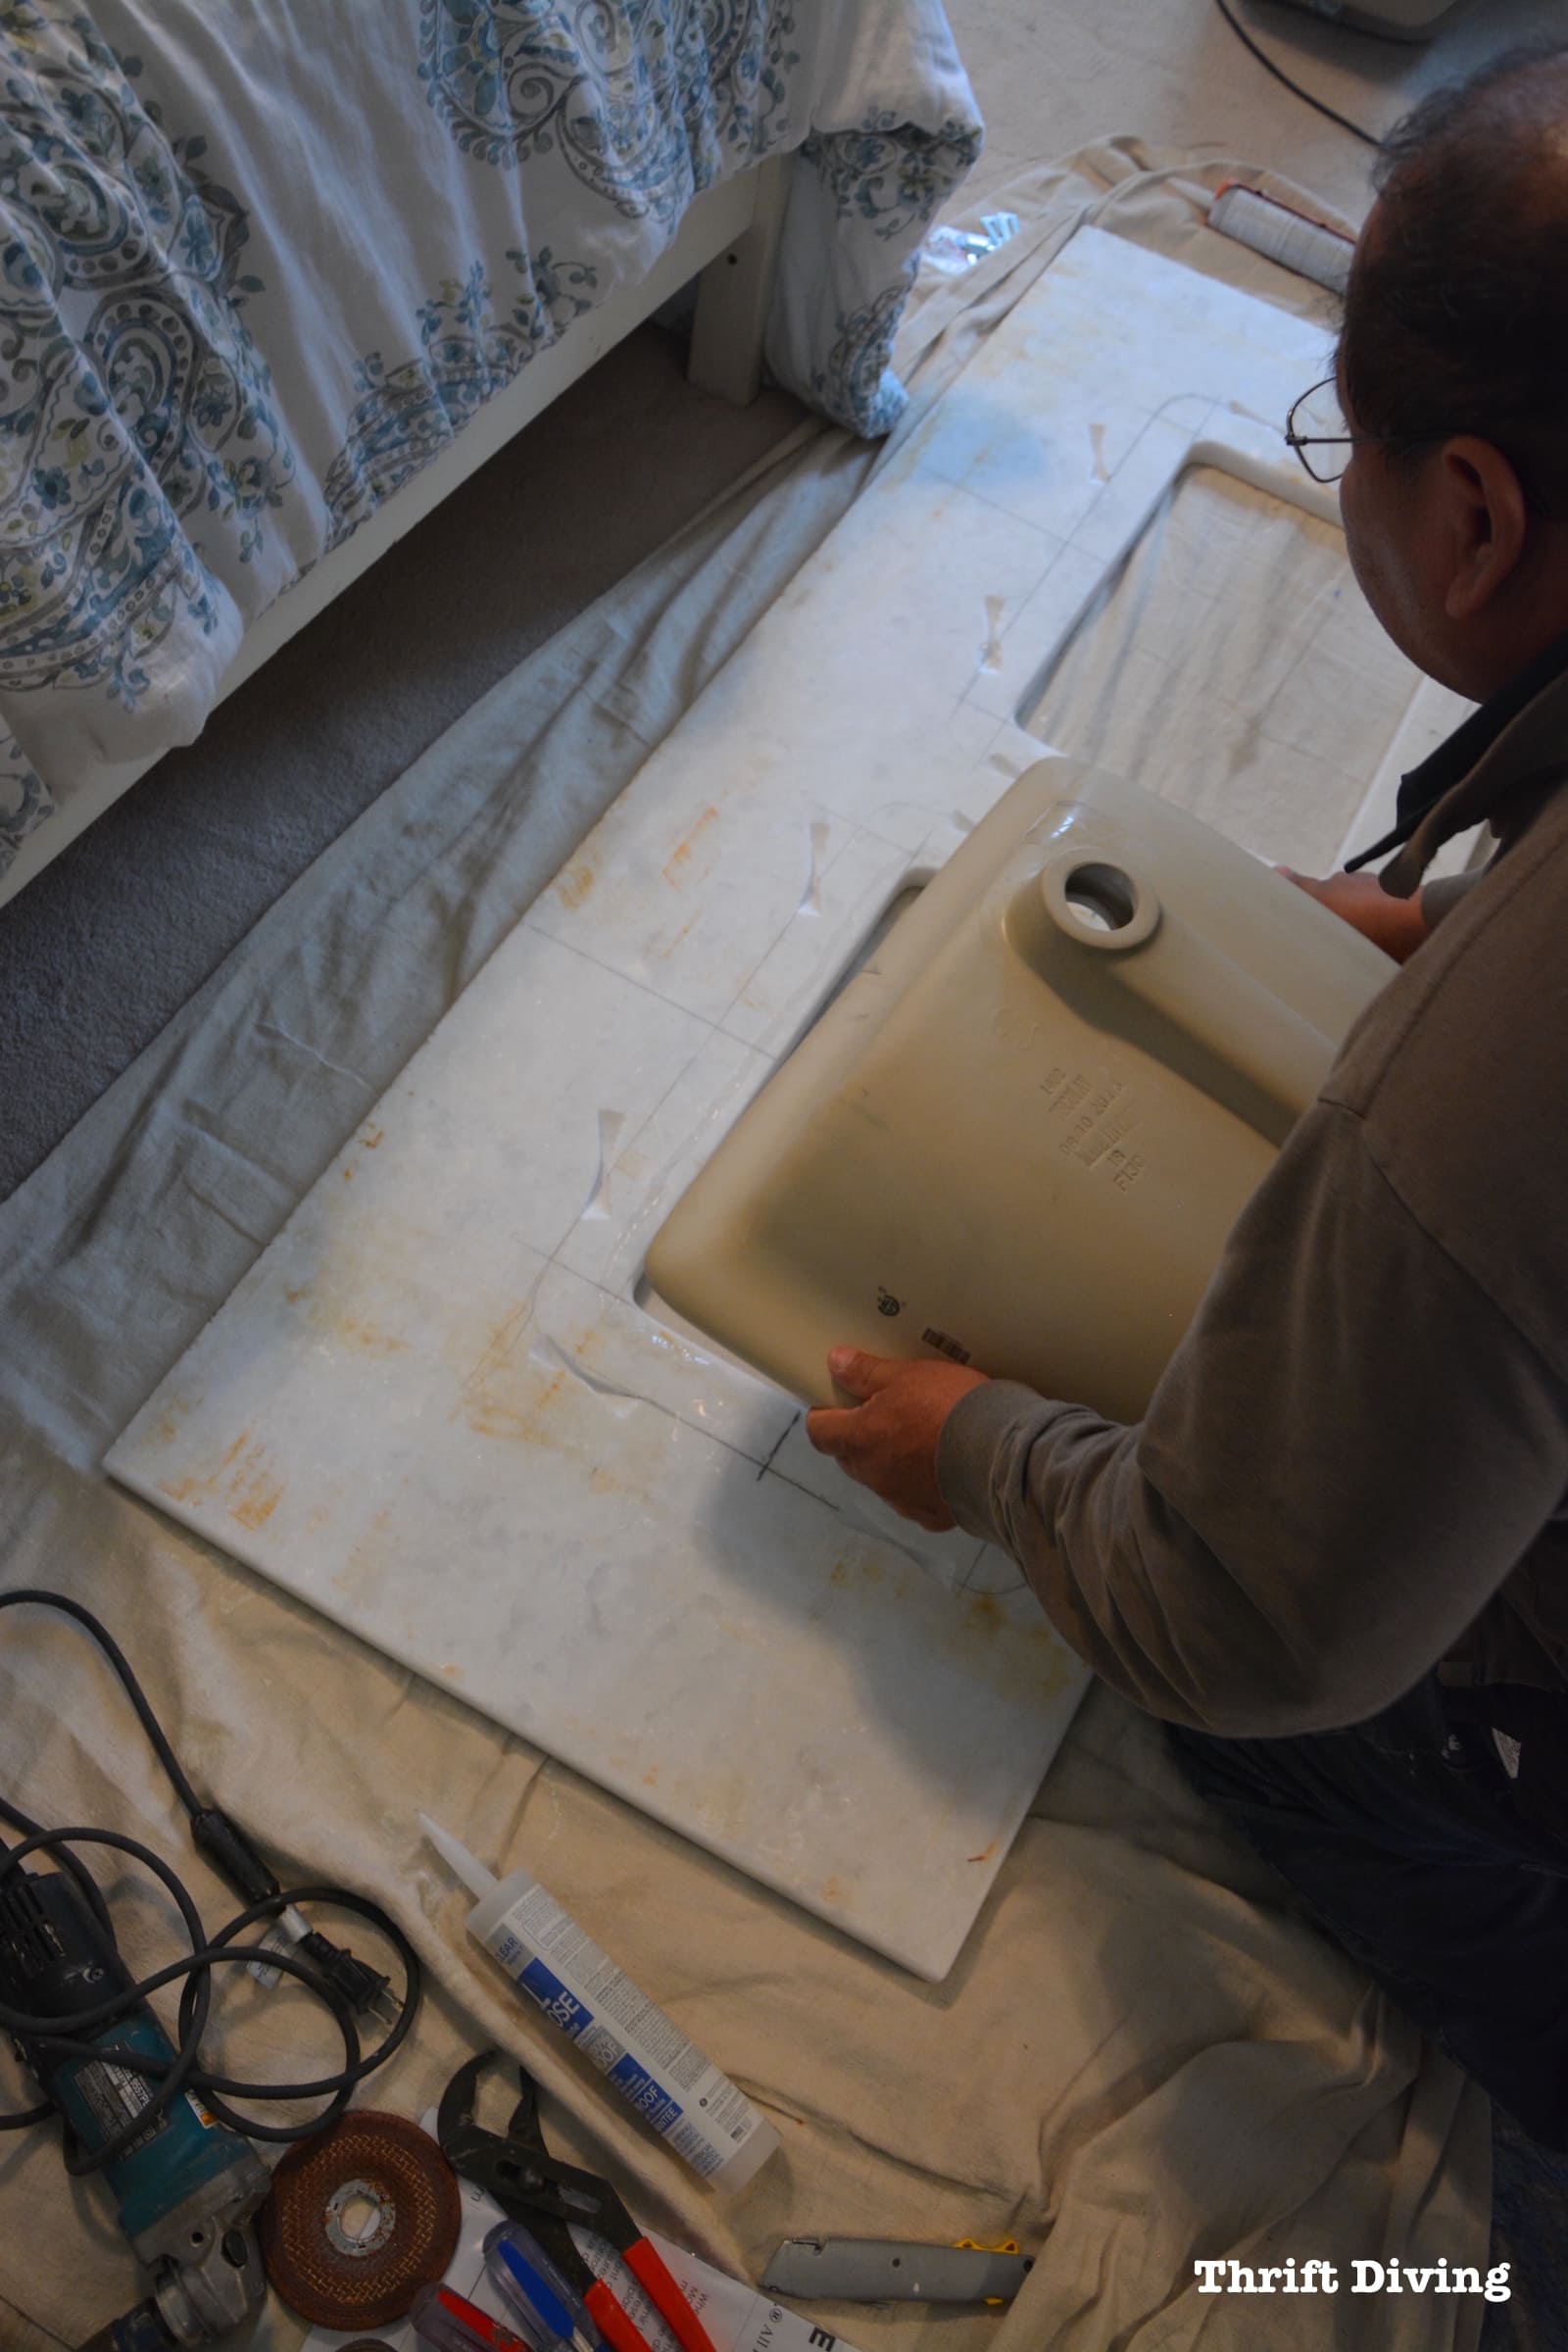
The day that Edmundo and his guy came back to install the granite, the first thing he had to do was make the markings on where the sinks would be, along with finding the center of the sink holes.
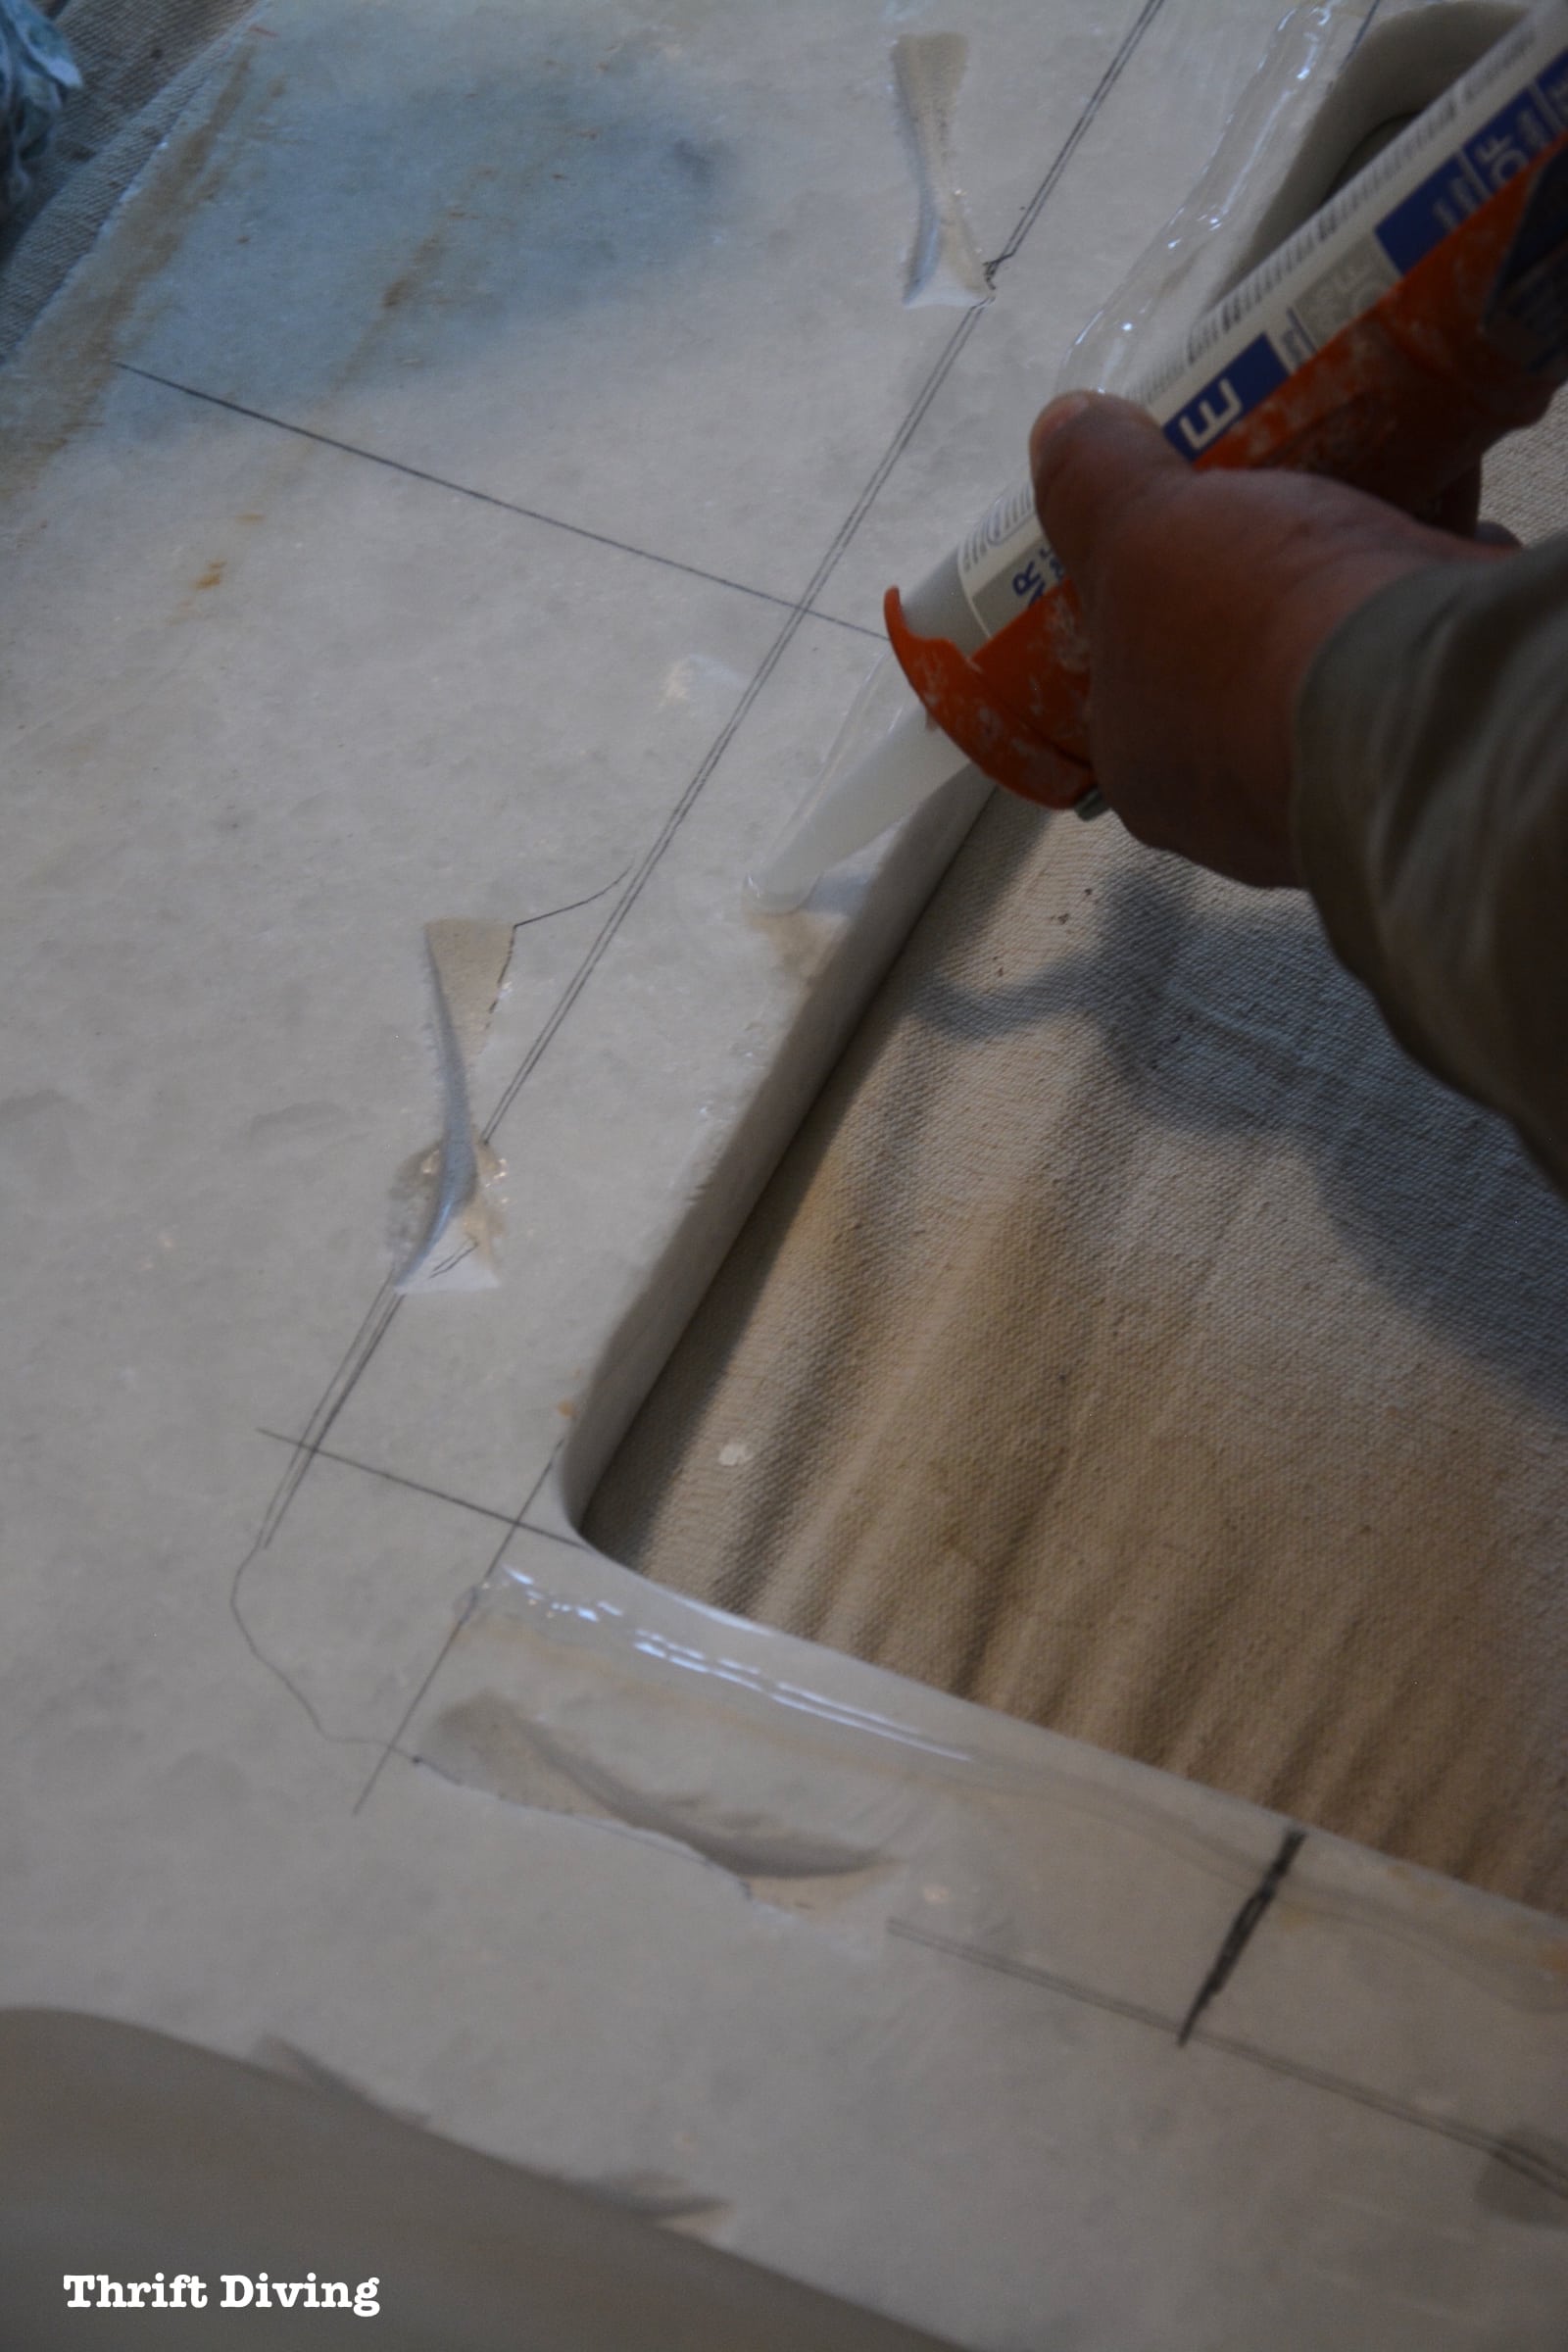
He applied a lot of caulk to the lip of the sink…
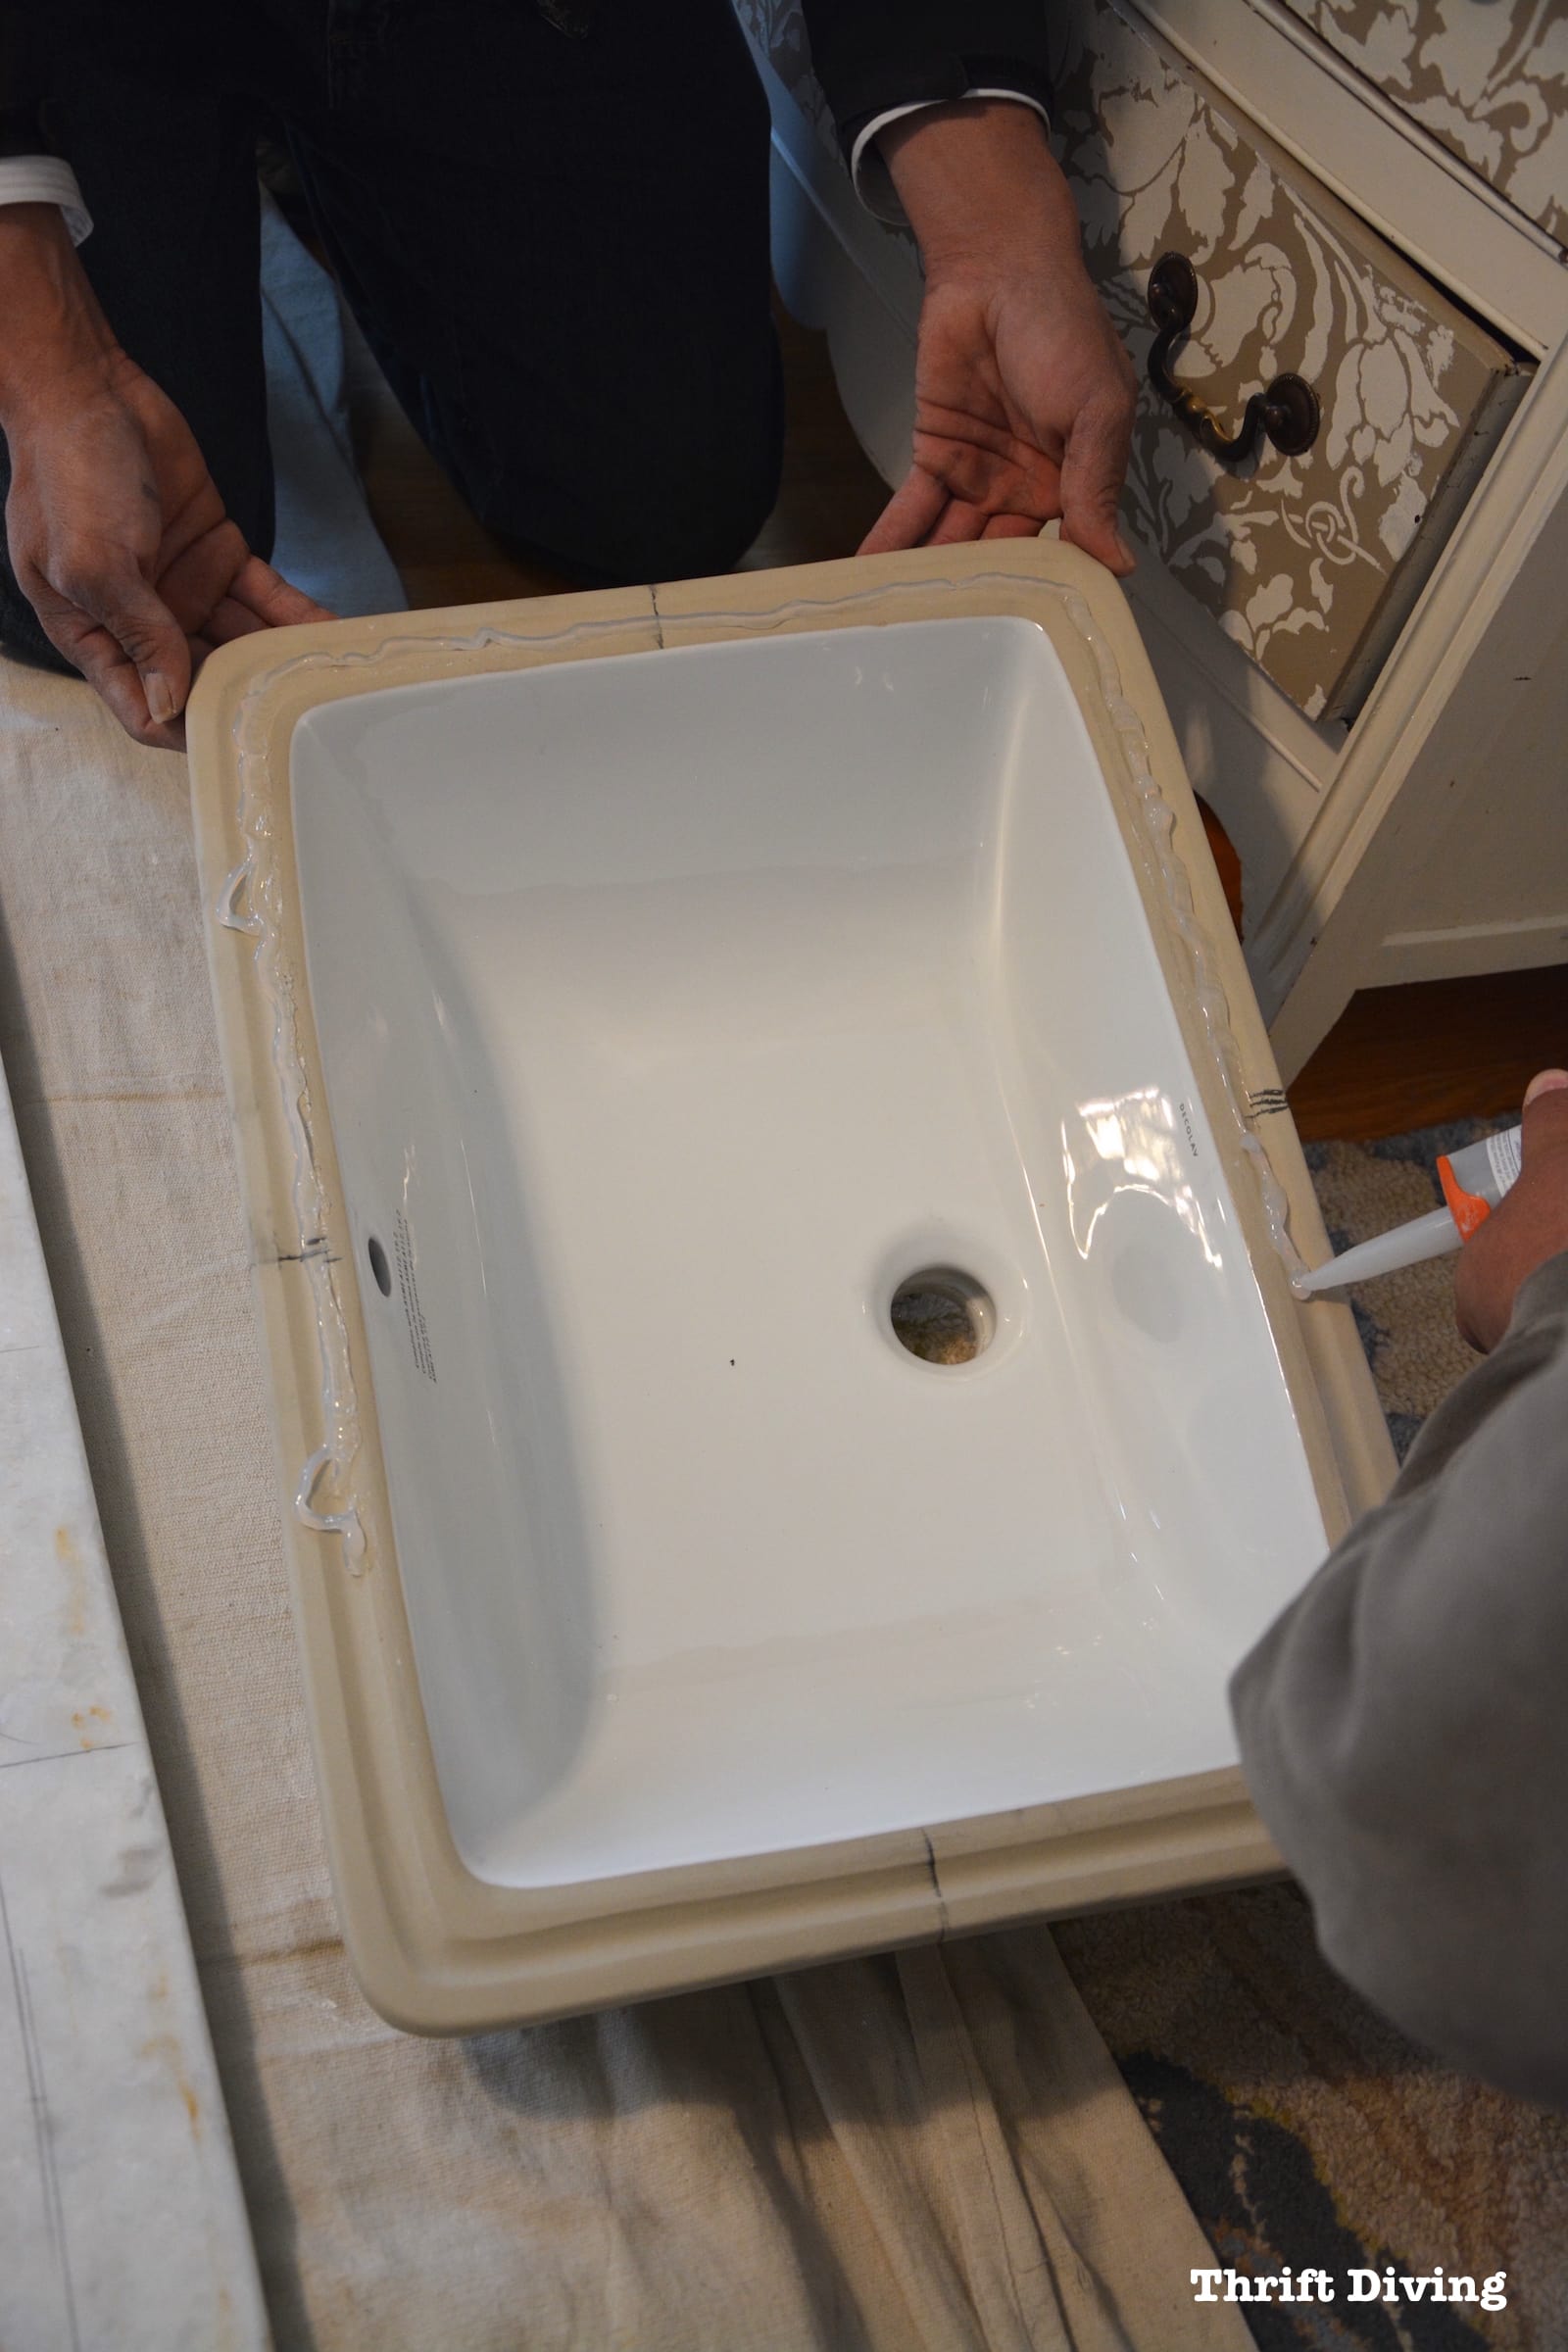
…and also placed a lot of caulk around the opening where the sink will rest.
Then he gently set each sink down on the granite.
Apparently this caulk is super strong and you've only got about 5 mintues to get it right and straight!
Typically undermount sinks are installed once the granite is in place, but because I didn't have much room in my bathroom, he had to installed the sinks face down.

The clips that he had to secure the sinks we too short, but thankfully I had some extra bolts to use with the clips.
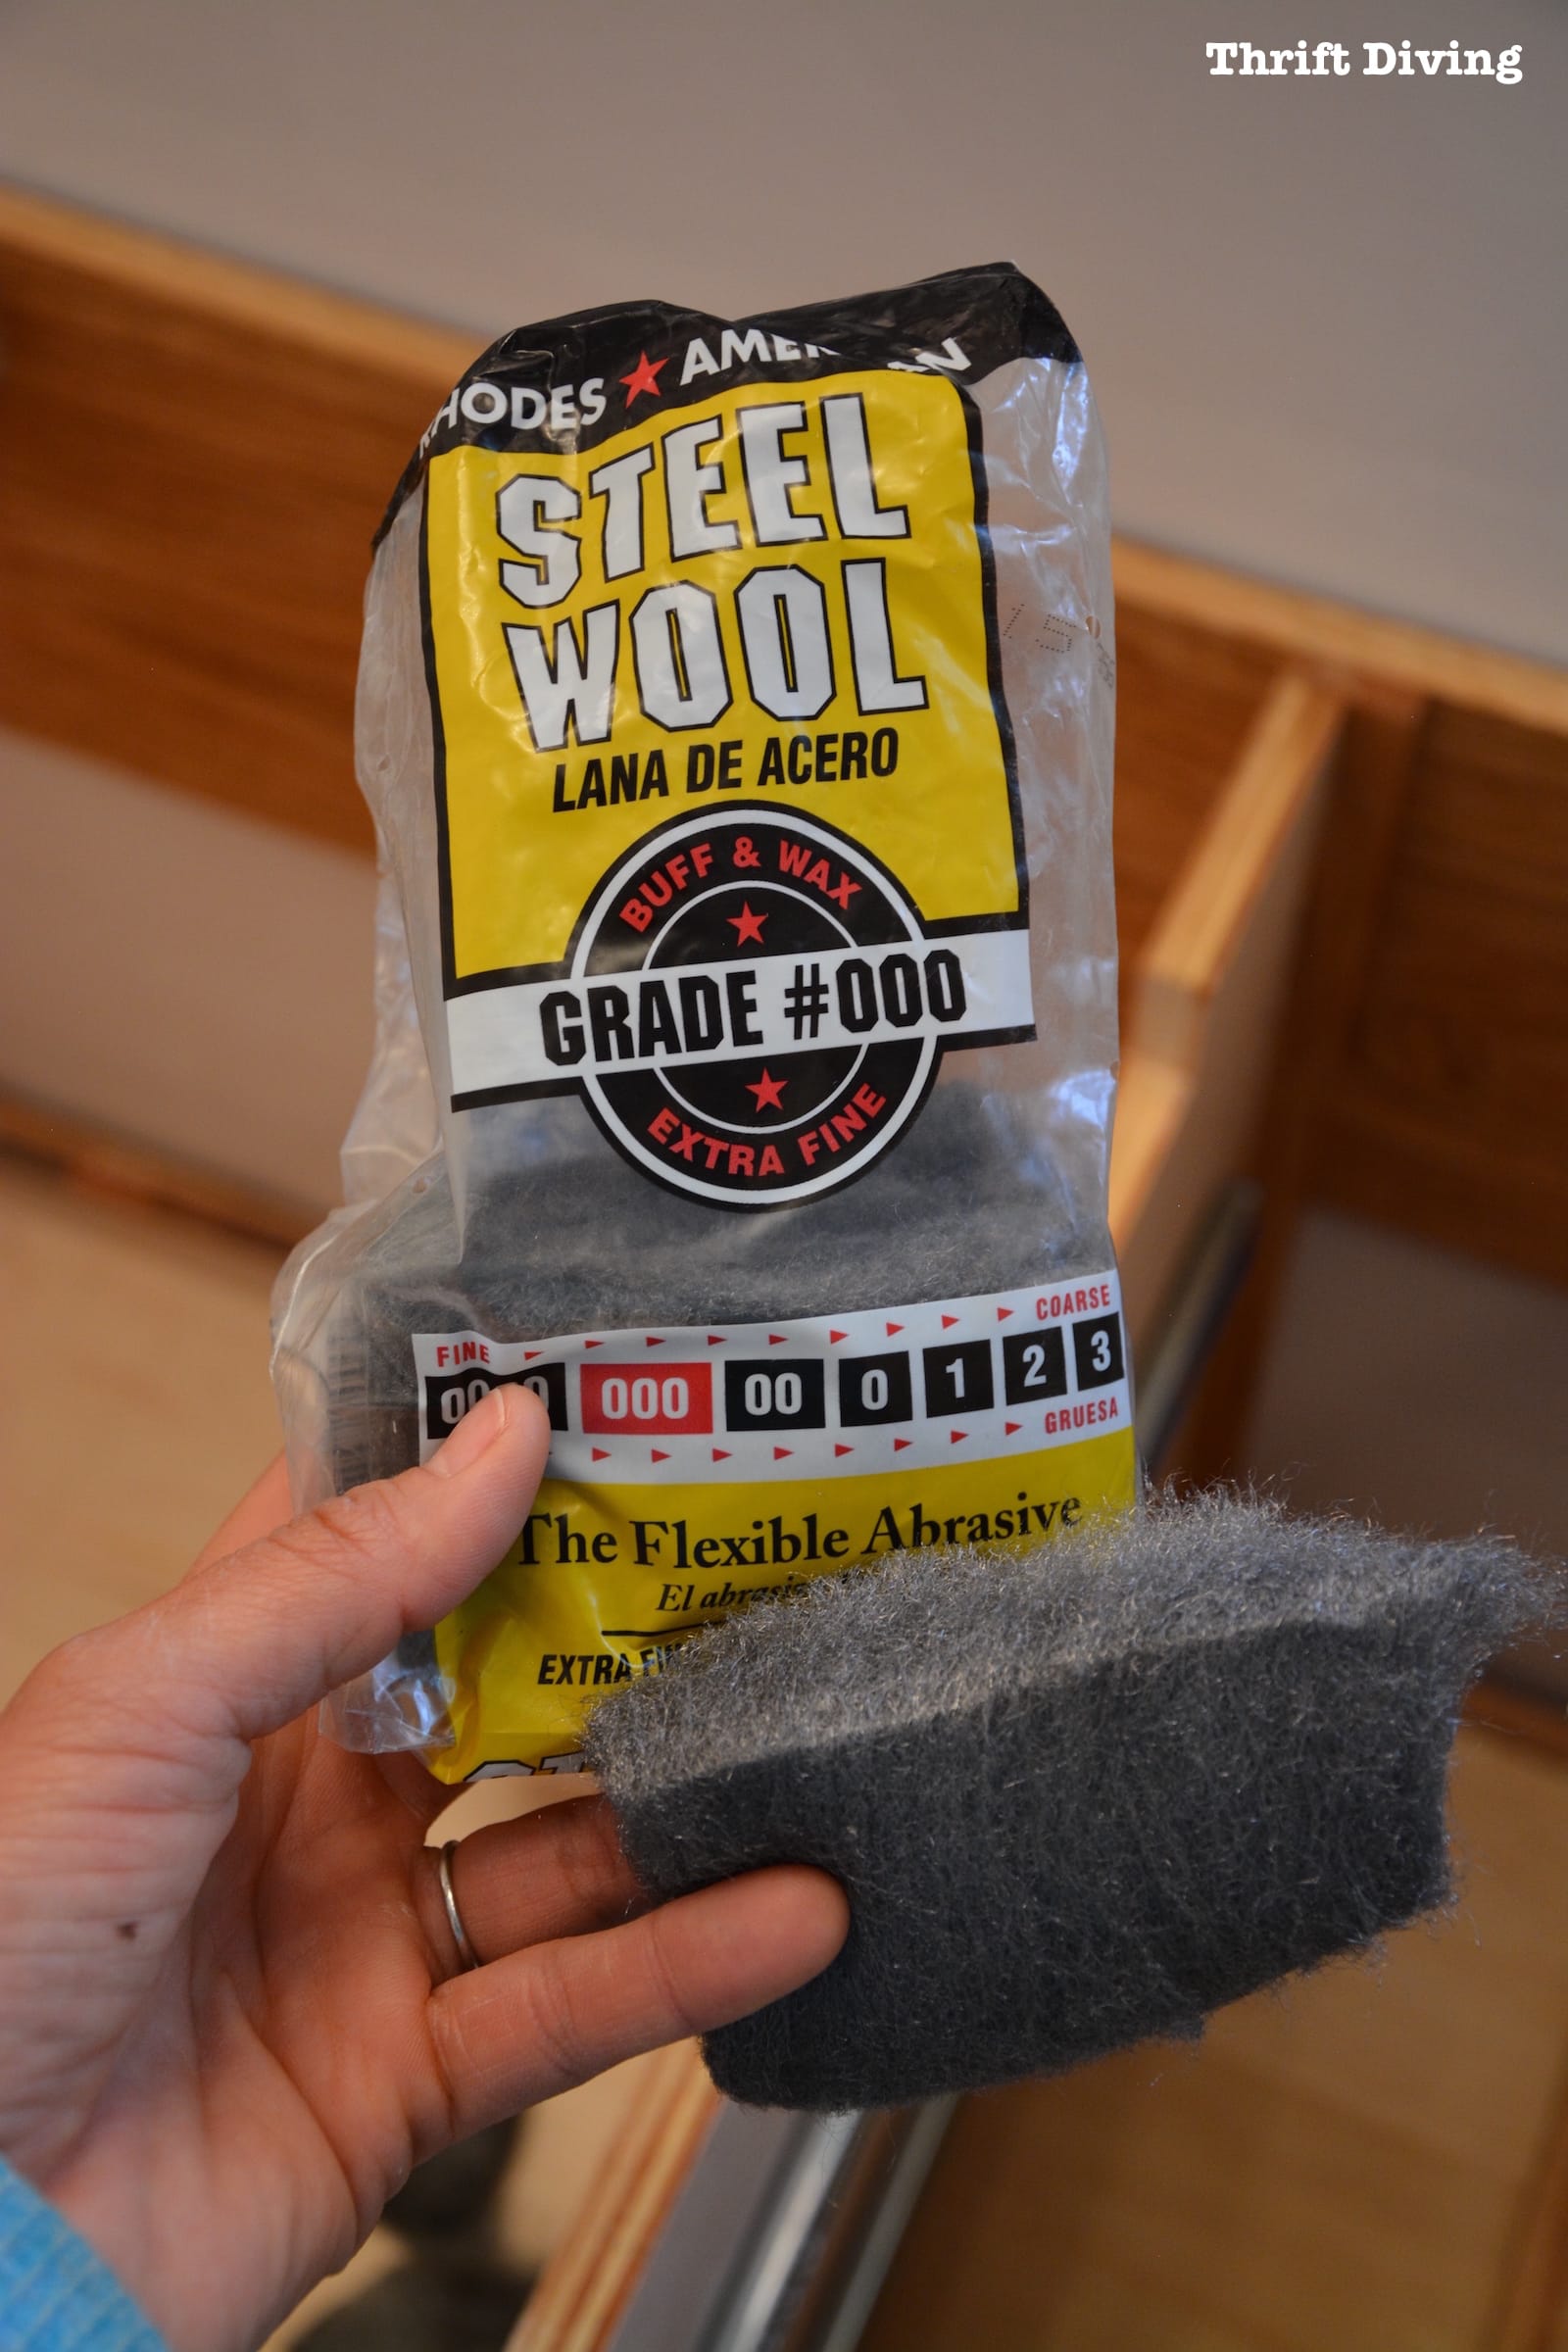
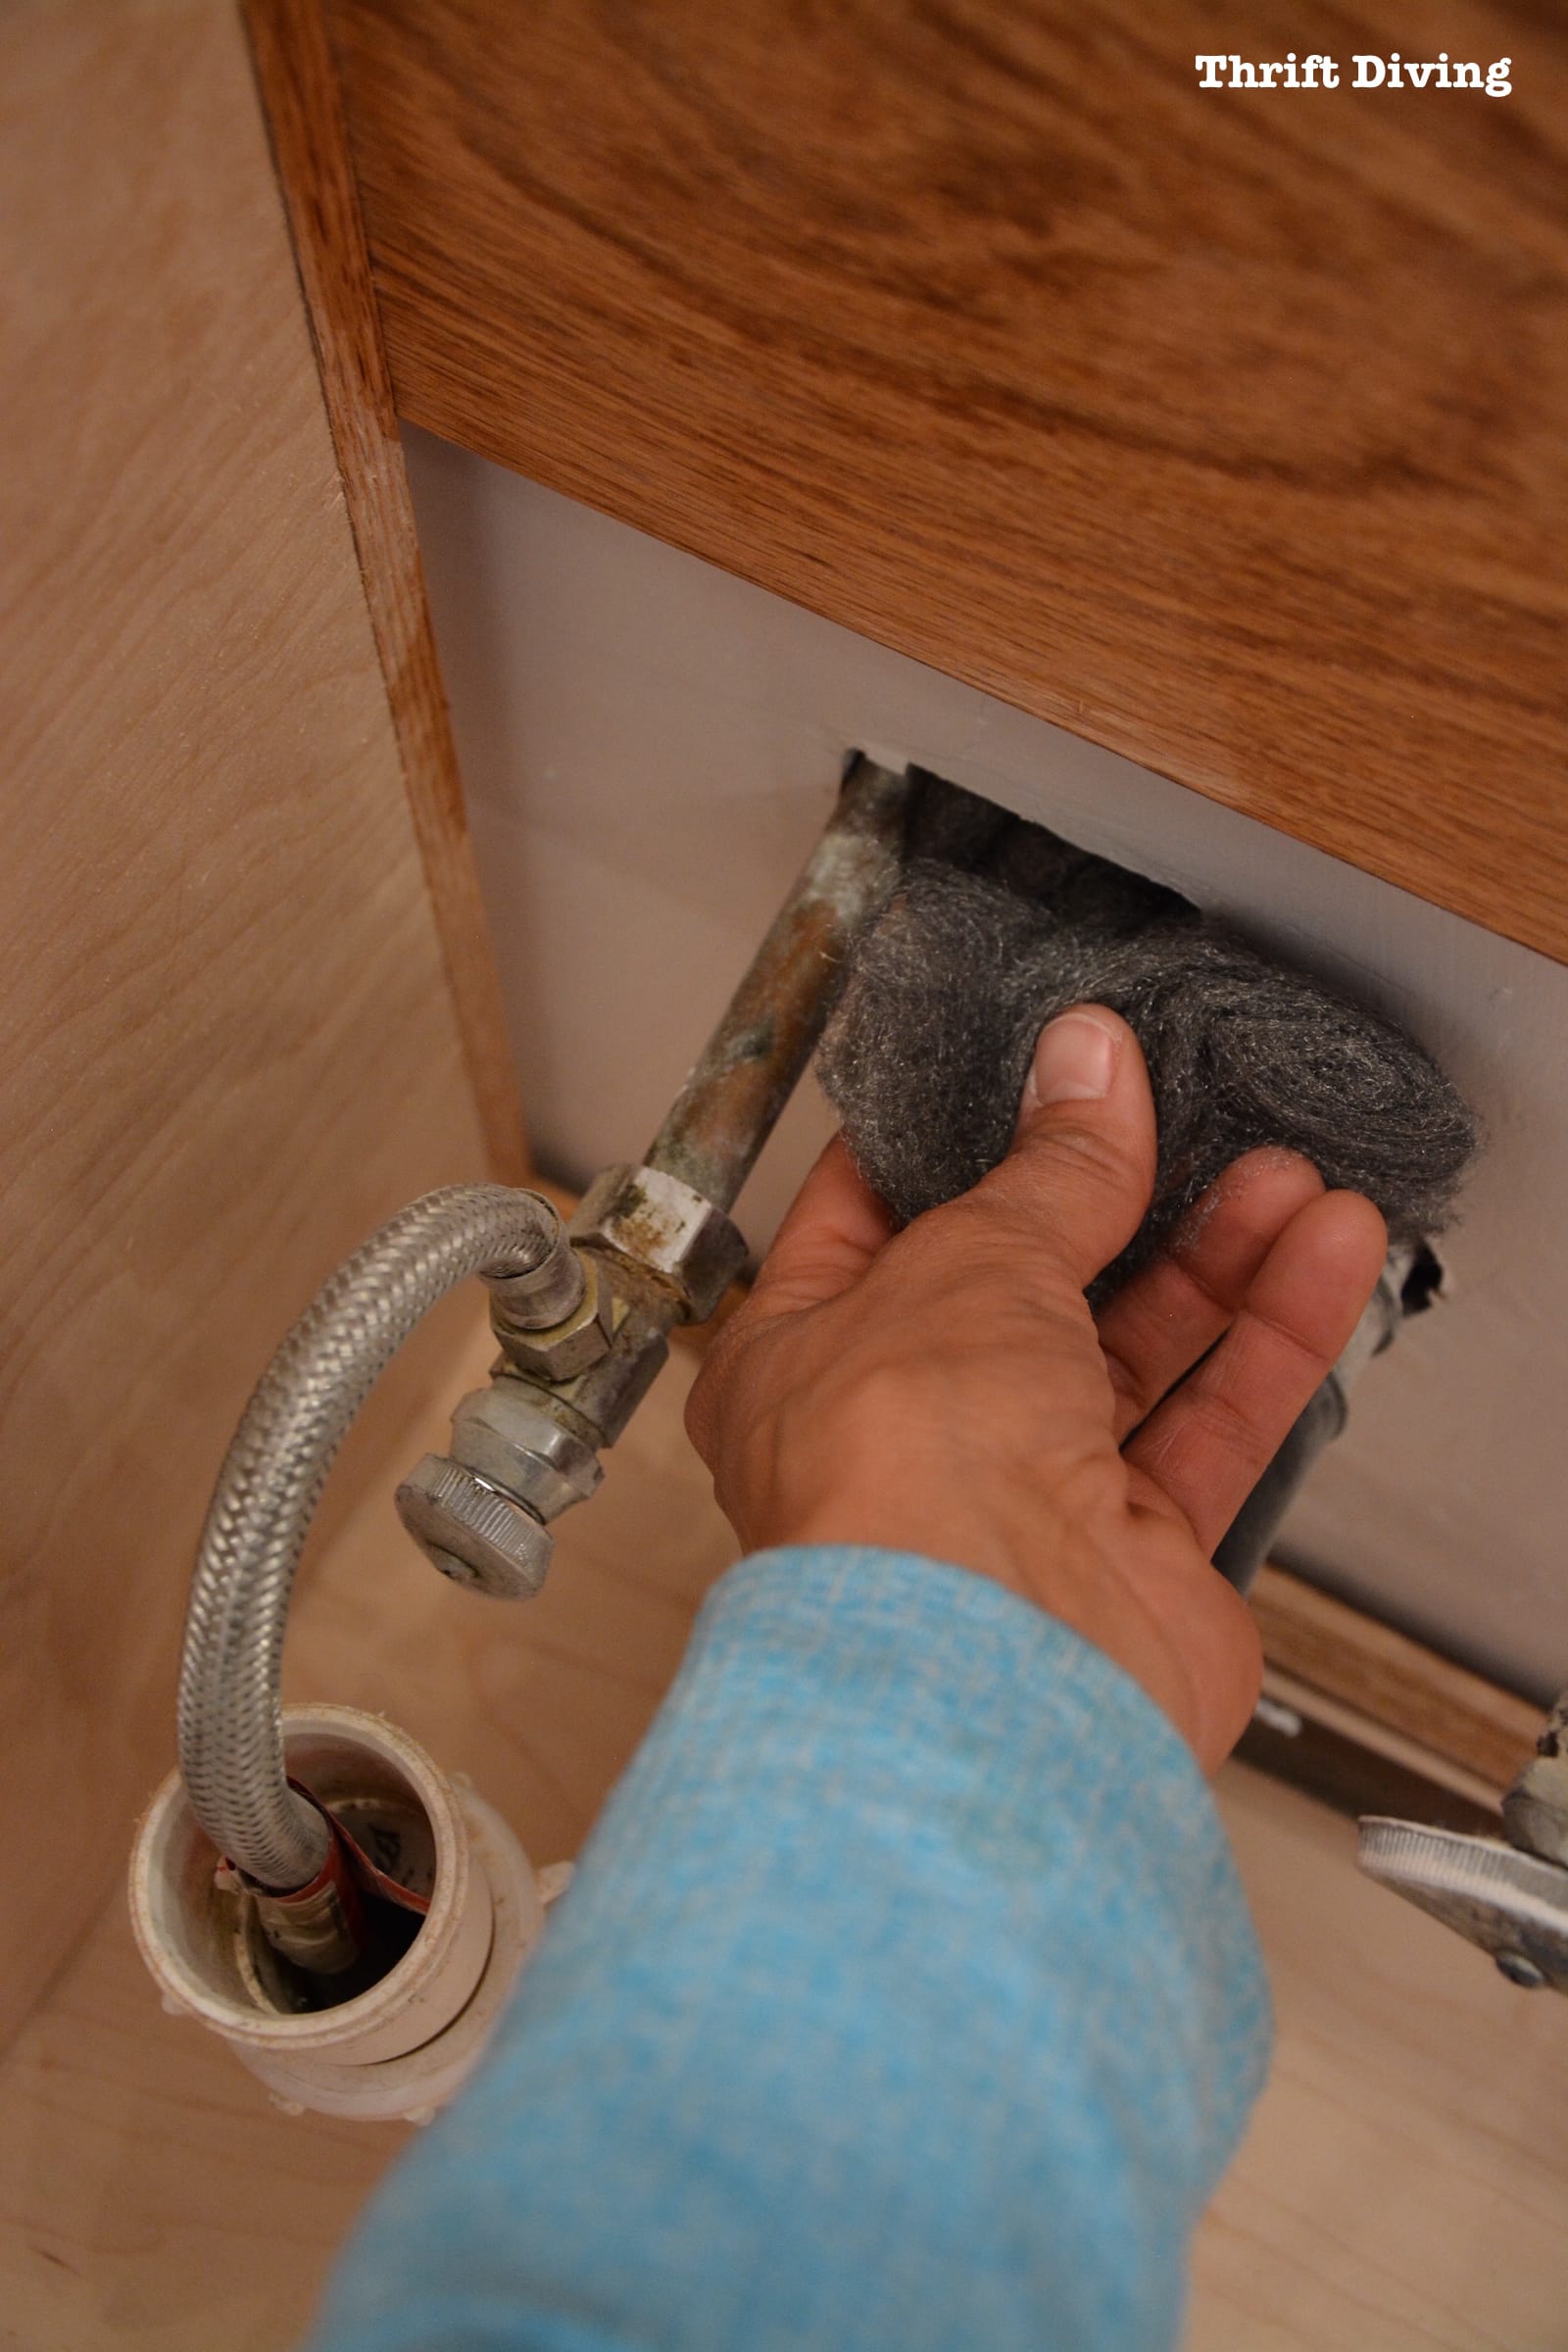
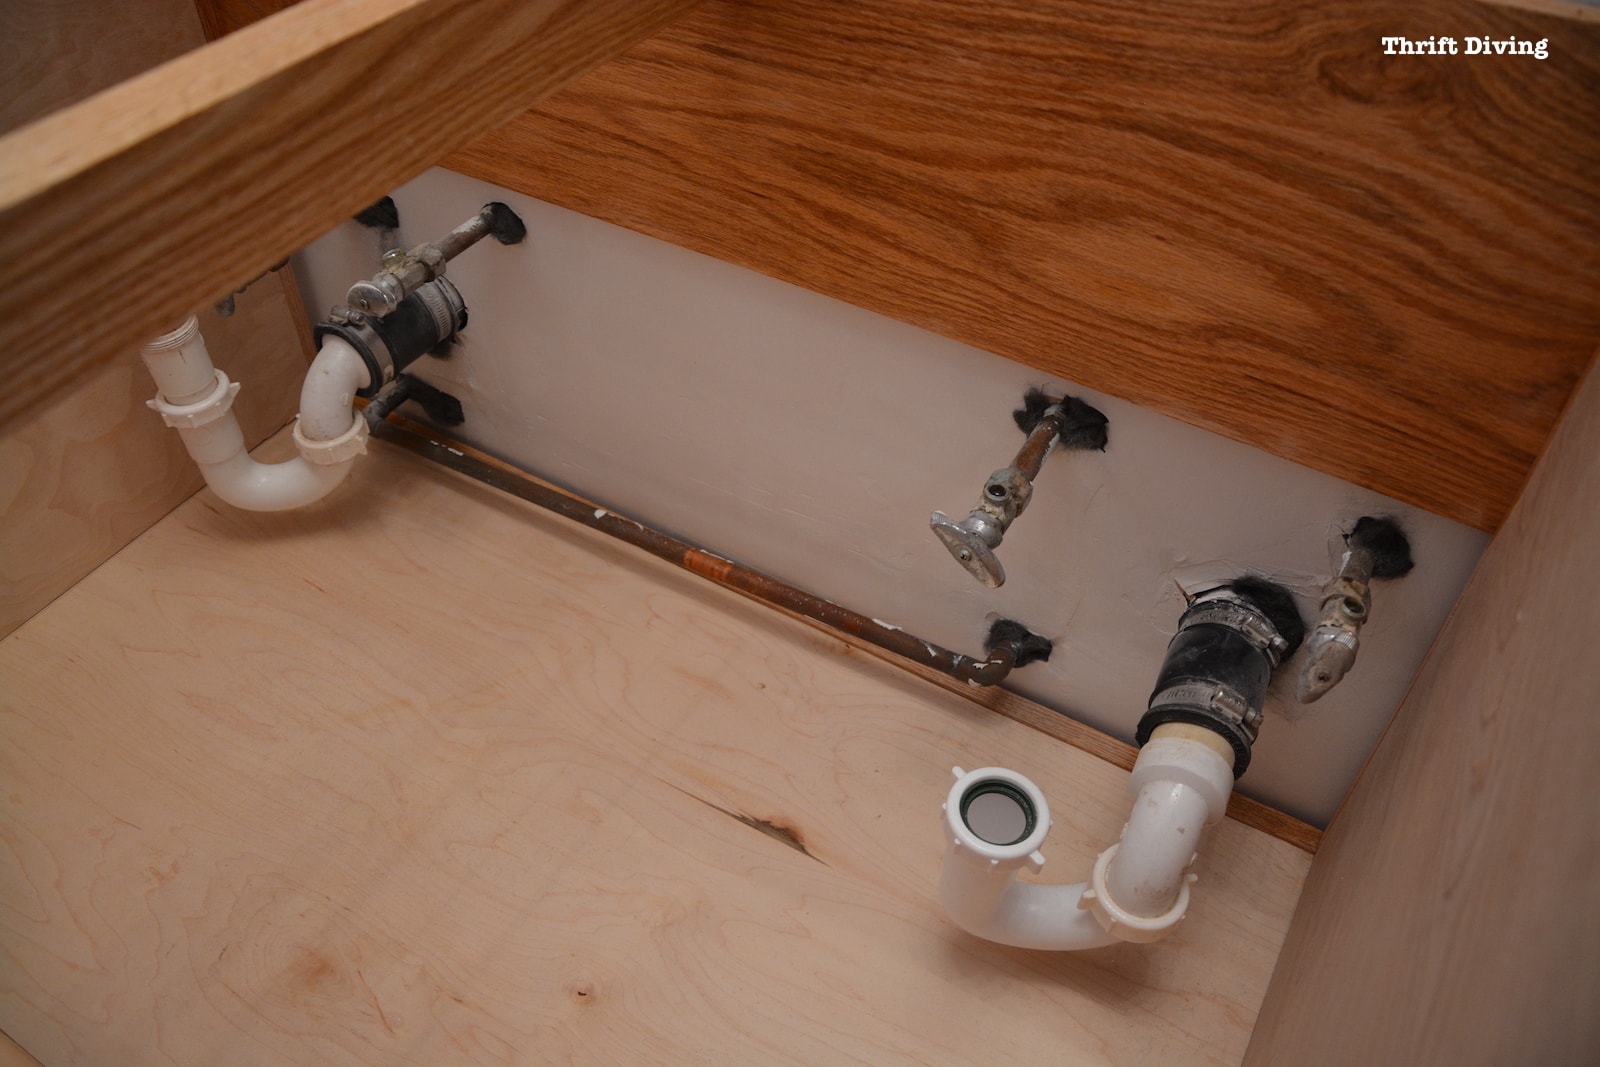
While we waiting for those to dry, I took one of my reader's suggestions and filled the plumbing gaps with very fine steel wool, to keep critters out.
We also tried to raise the electrical outlet, which proved to be tougher than we thought it would be!

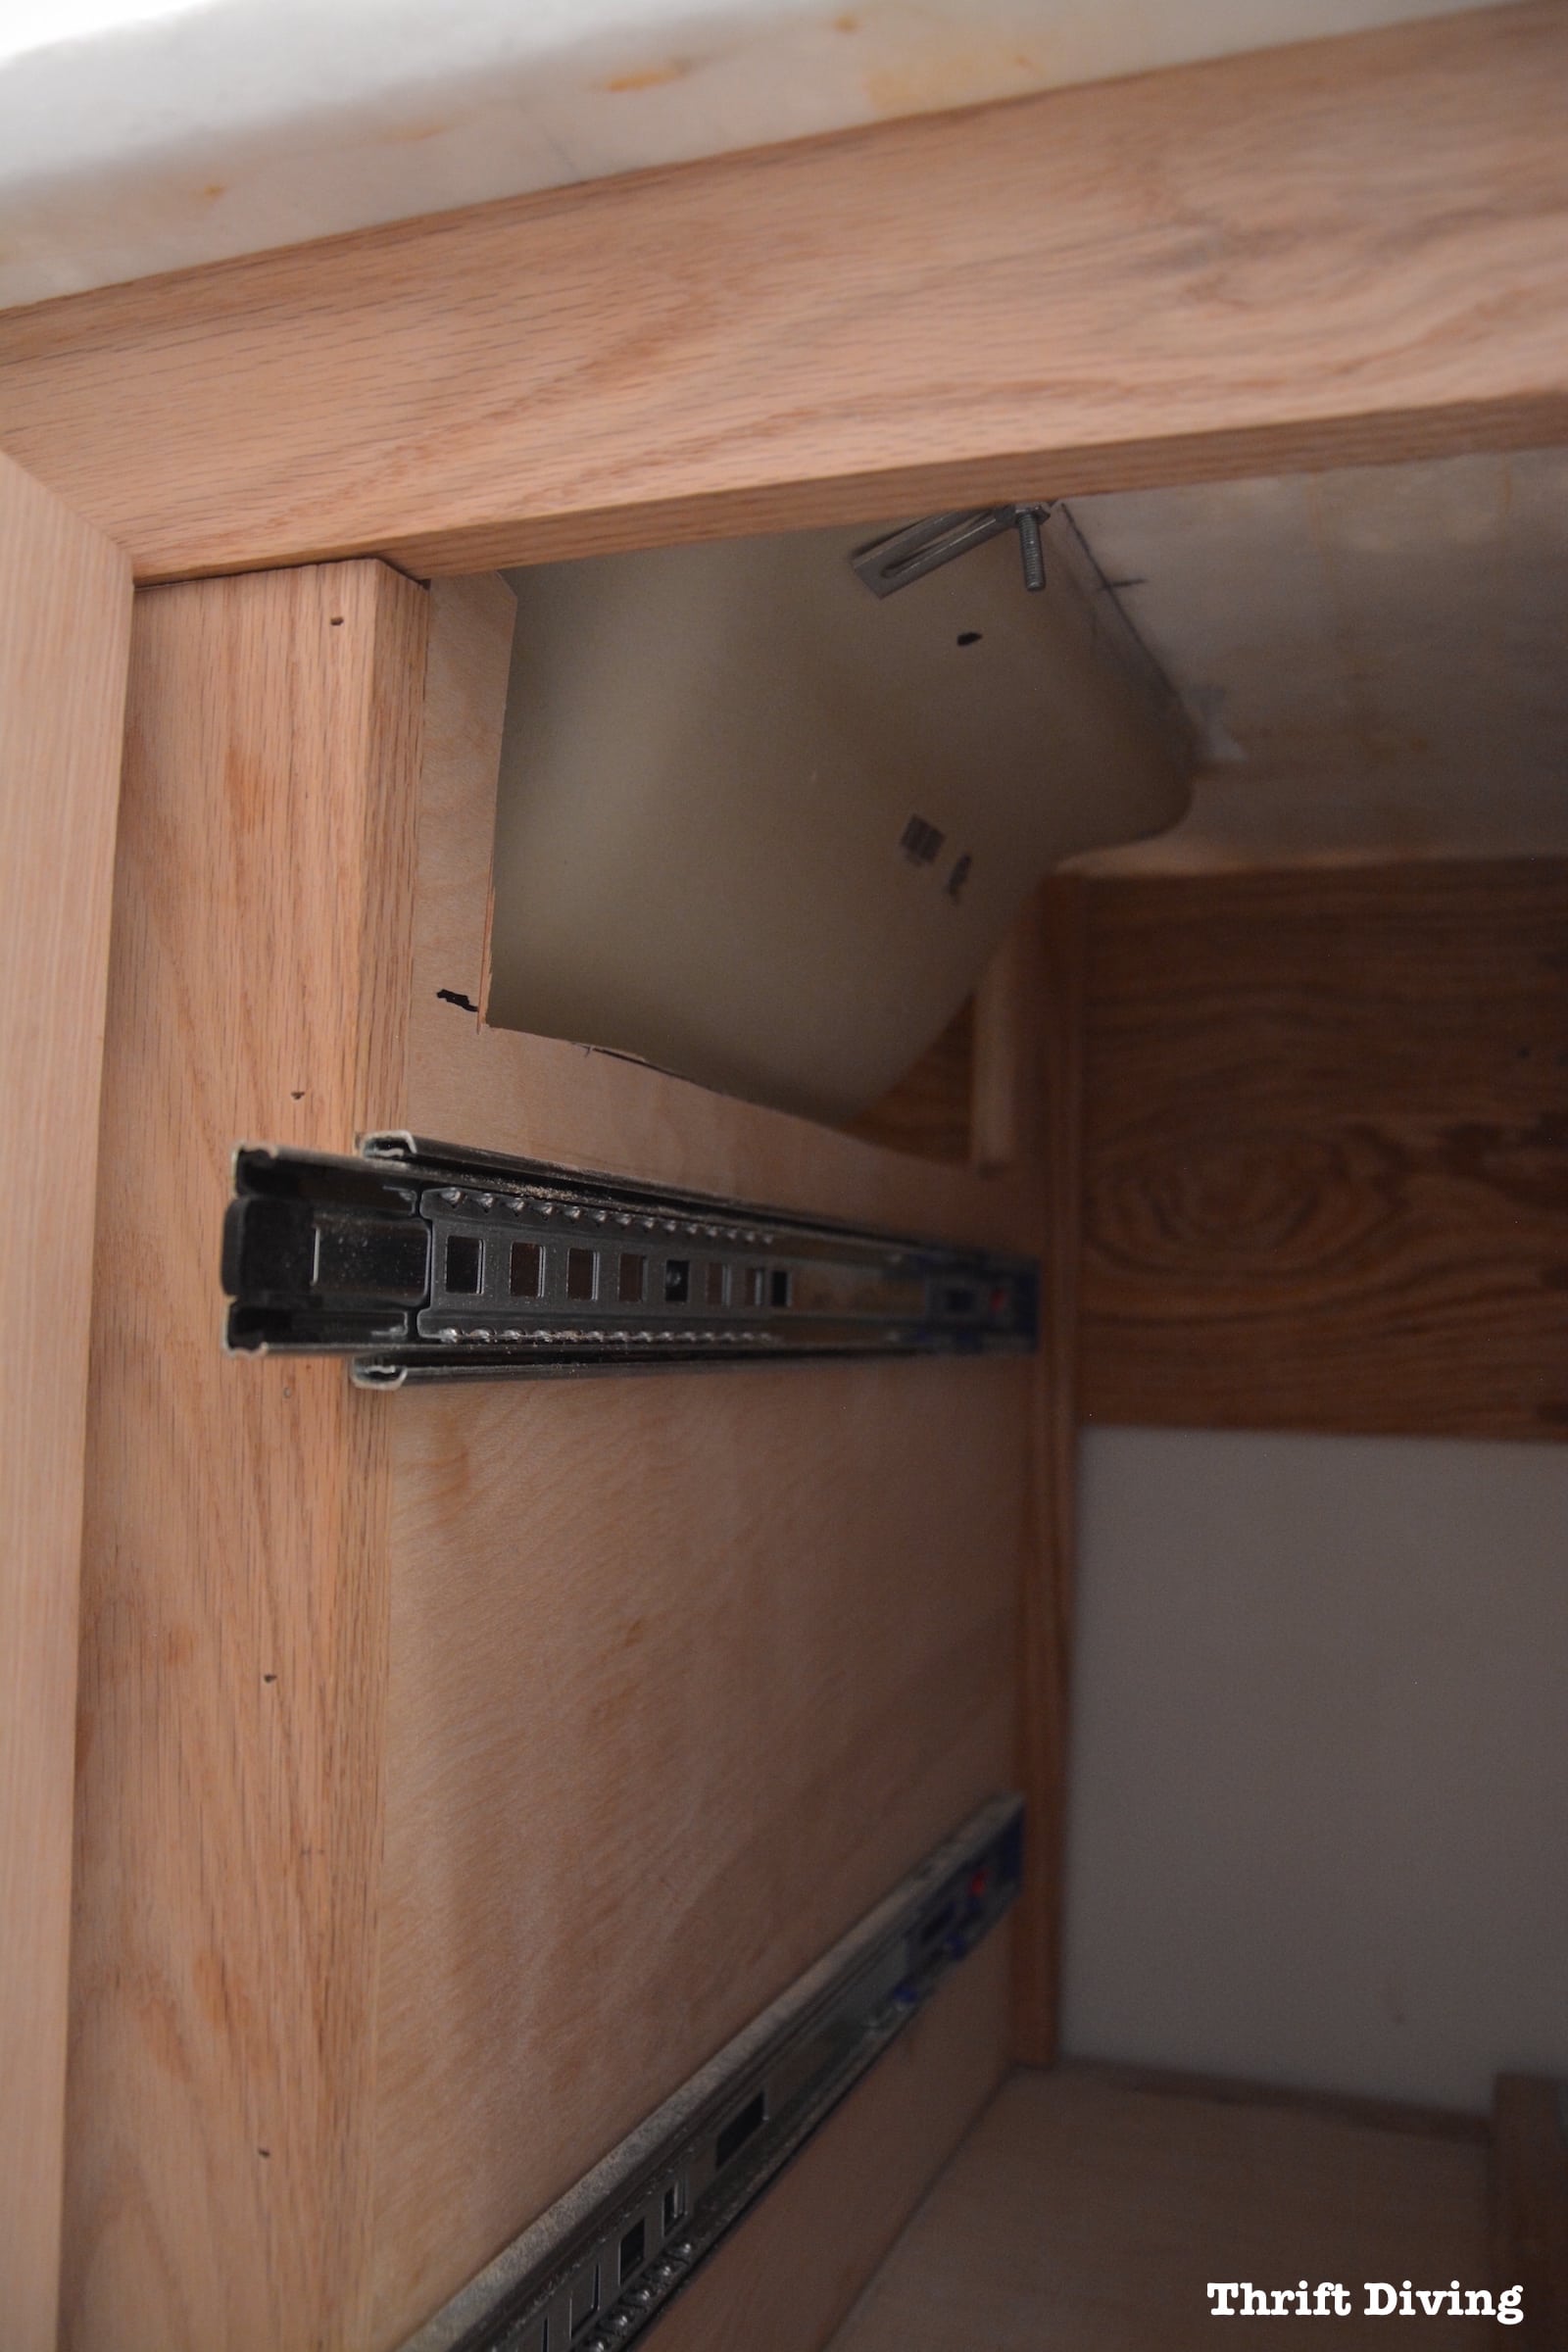
Cutting Down the Partitions
We found that the sinks we much deeper than we thought!
Edmundo ended up cutting about 5″ off of the partitions!
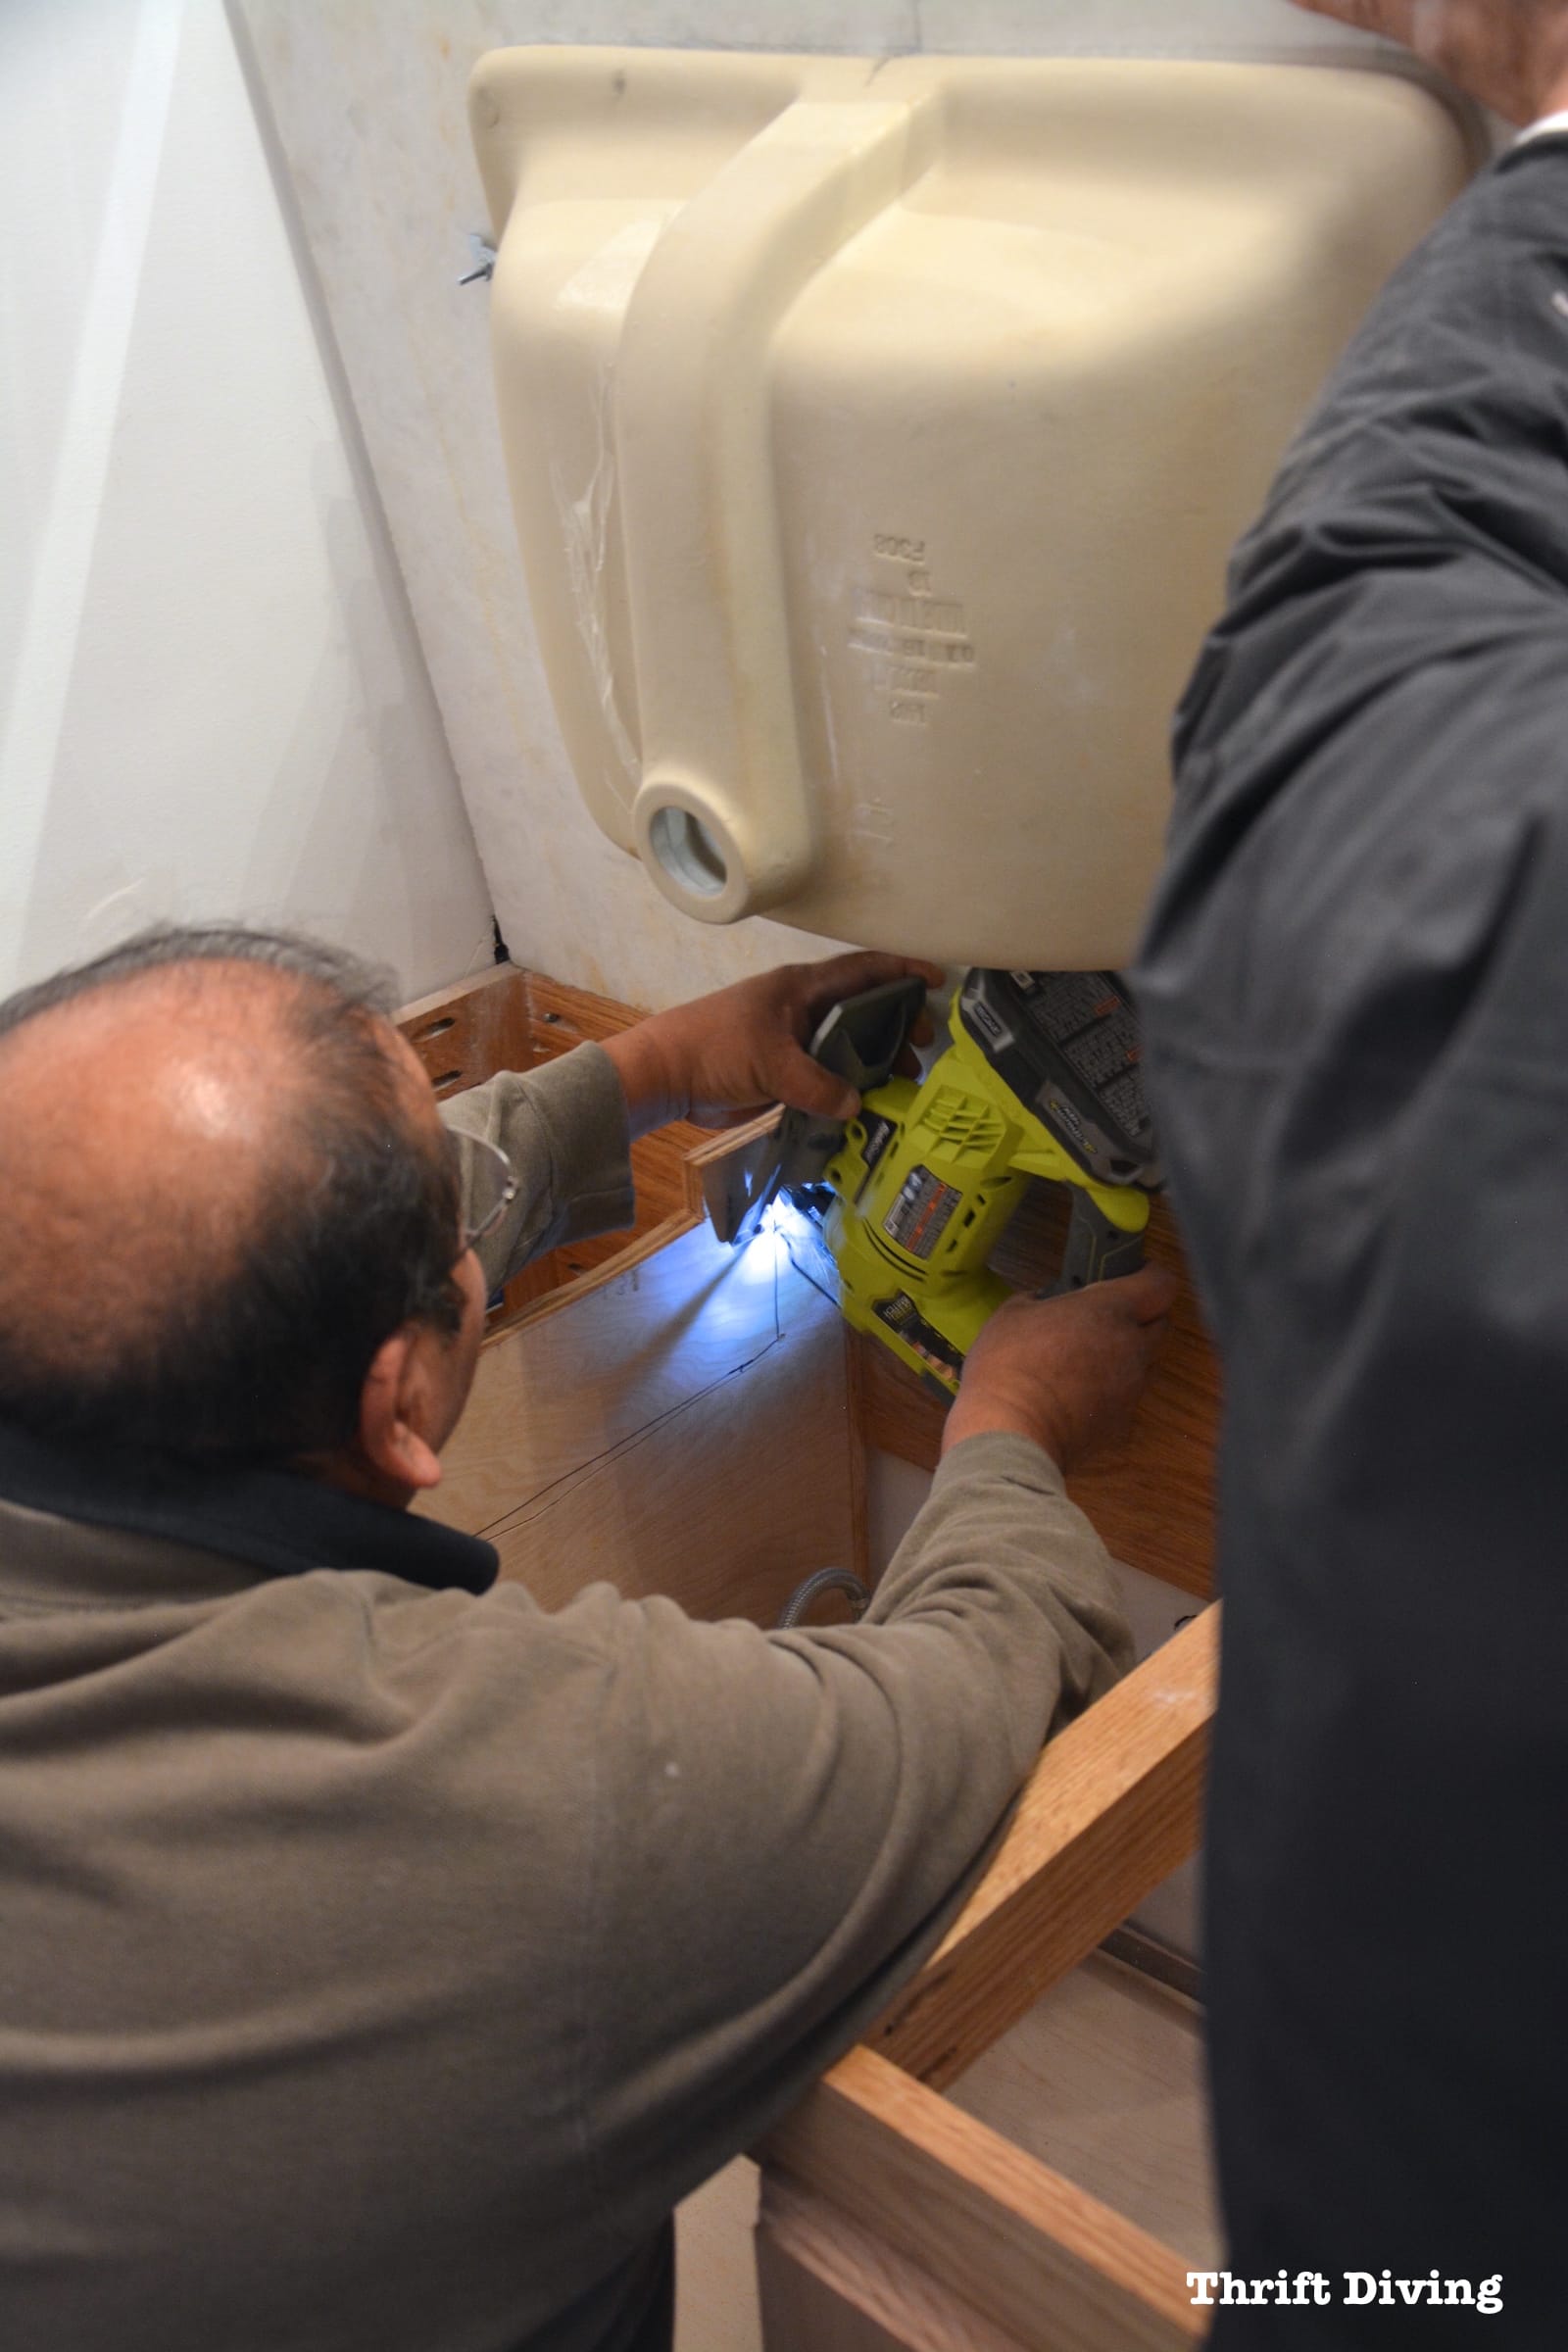
I got a little scared because it was so close to the drawer sliders that I installed in Part 4 of this DIY bathroom vanity series.
NOTE: By this time, Edmundo had already secured the vanity to the studs in the walls using 2.5″ cabinet screws, which you can see in the back frame.
Thankfully, that 5″ was good enough and we could get the granite top.
But guess what that would mean….?
It means those drawers would fit. EEK…. Keep reading….
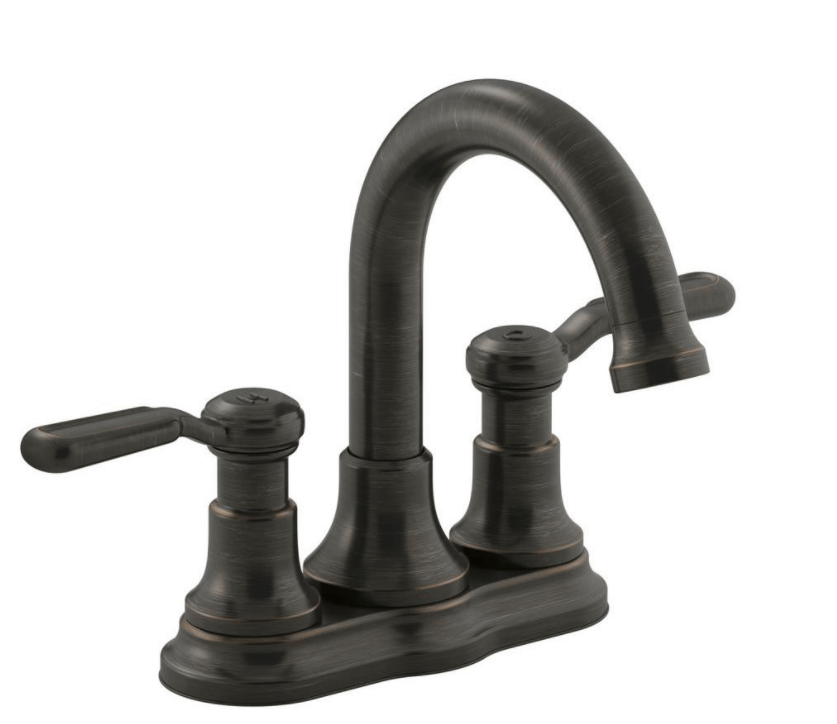
Cutting Holes for the Faucets
I loved the Kohler Worth 4 in. oil rubbed bronze faucets that I picked from The Home Depot!
To create the holes for those faucets, Edmundo drilled holes, while his guy used the dry vac to suck up the dust.
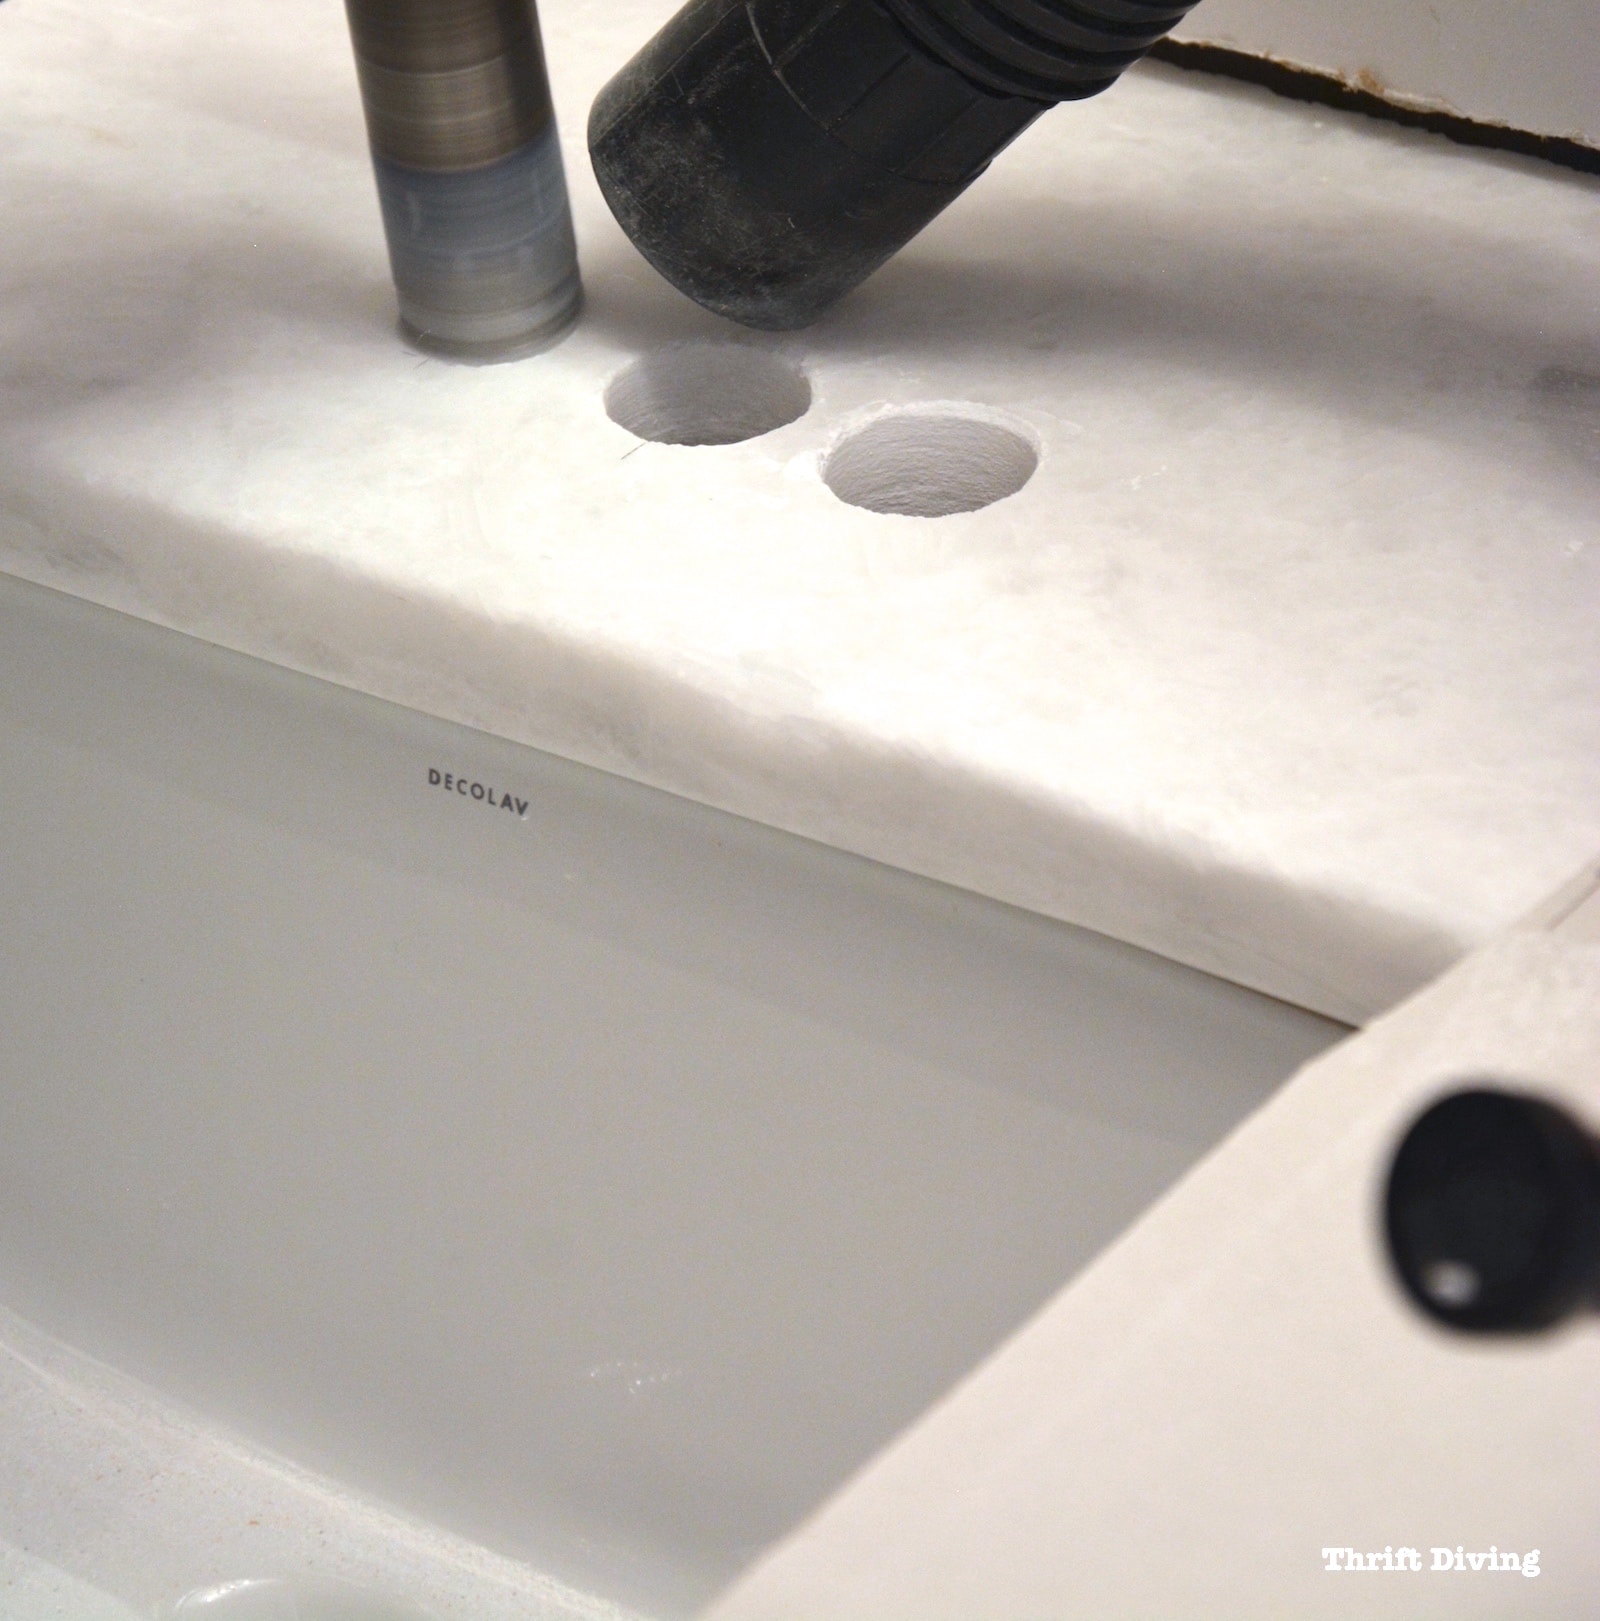
Once the faucets were in, it was time to connect the plumbing.
We ran into a few snags with that, as well, but nothing that a run to The Home Depot didn't fix.
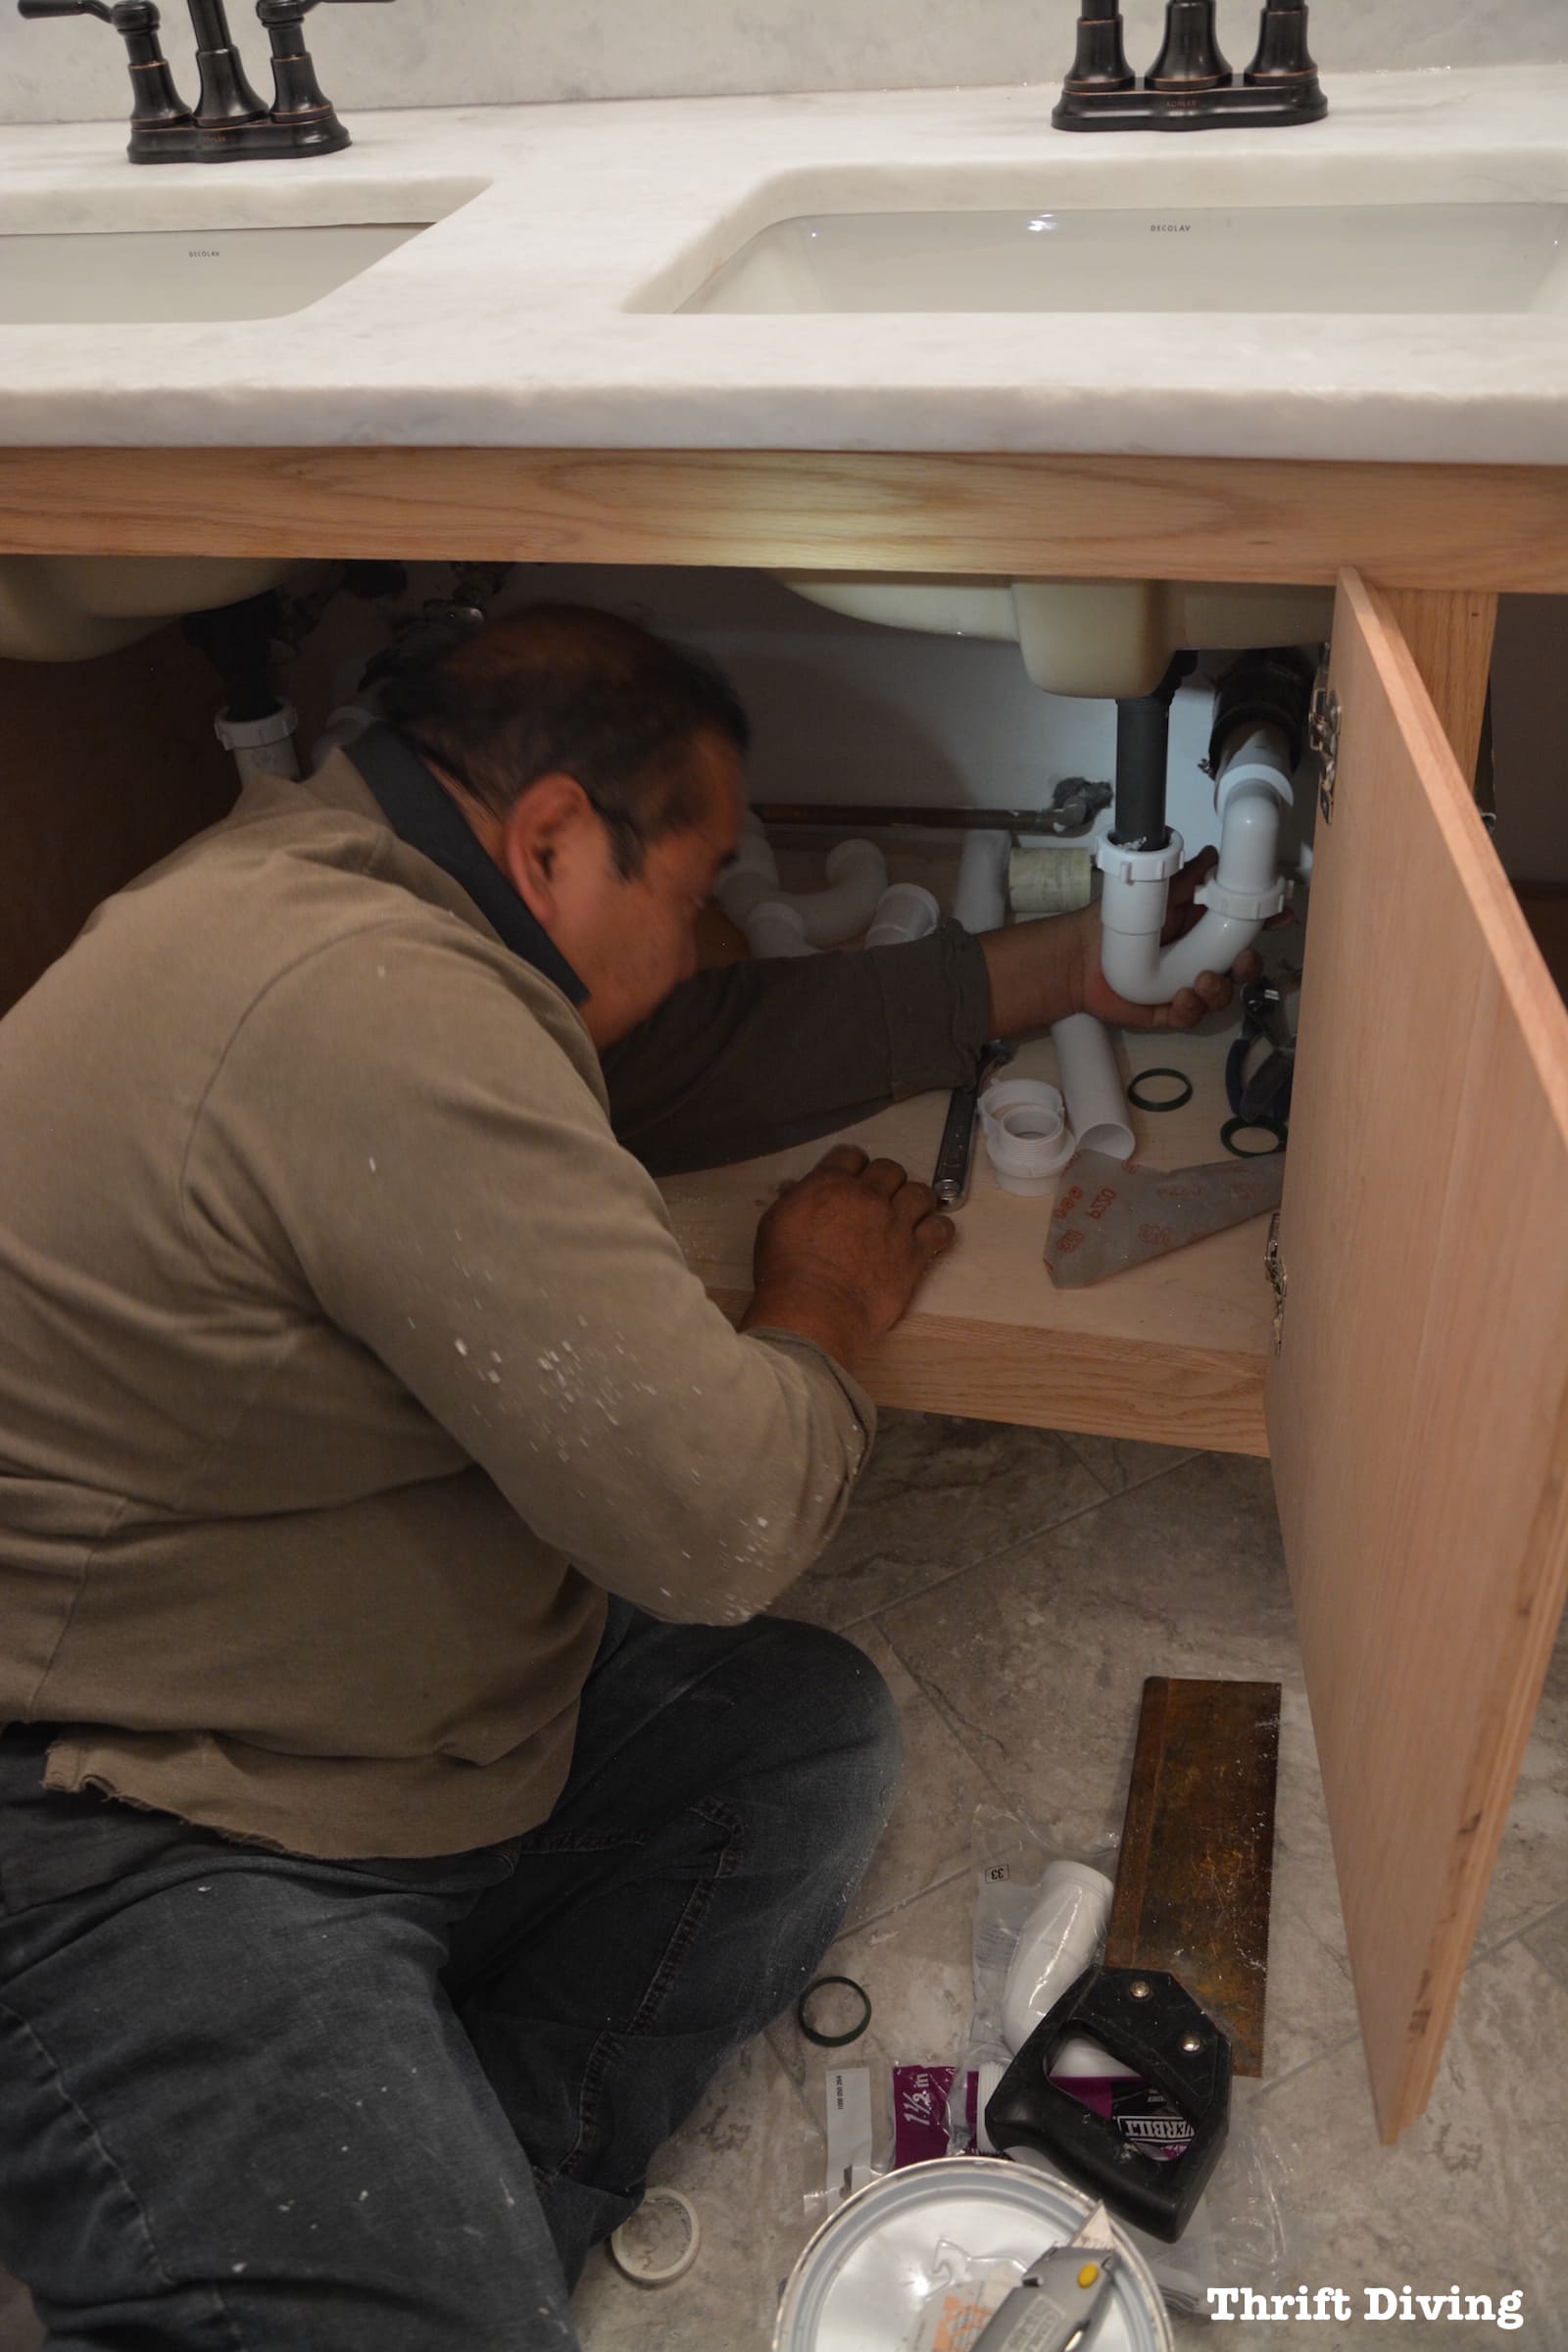
OMG, Edmundo and his guy were there all day, from 9 a.m. until about 4 p.m.!
I didn't realize that putting a granite bathroom vanity top on would take so long, but with all the little things that came up–from trimming the partitions, to running for plumbing items… Well, it took a long time.
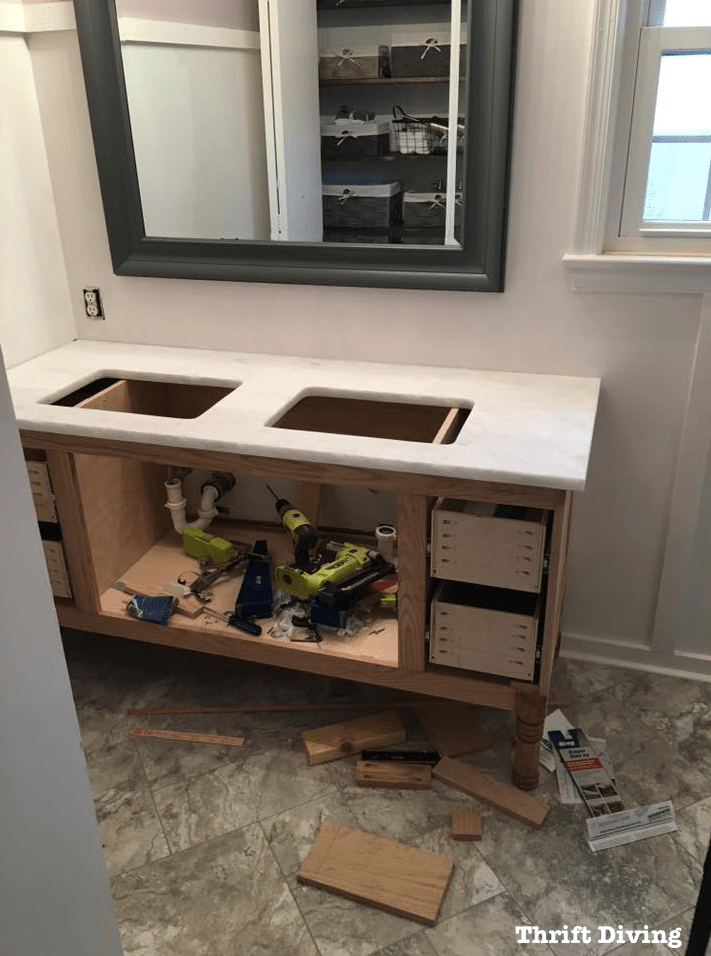
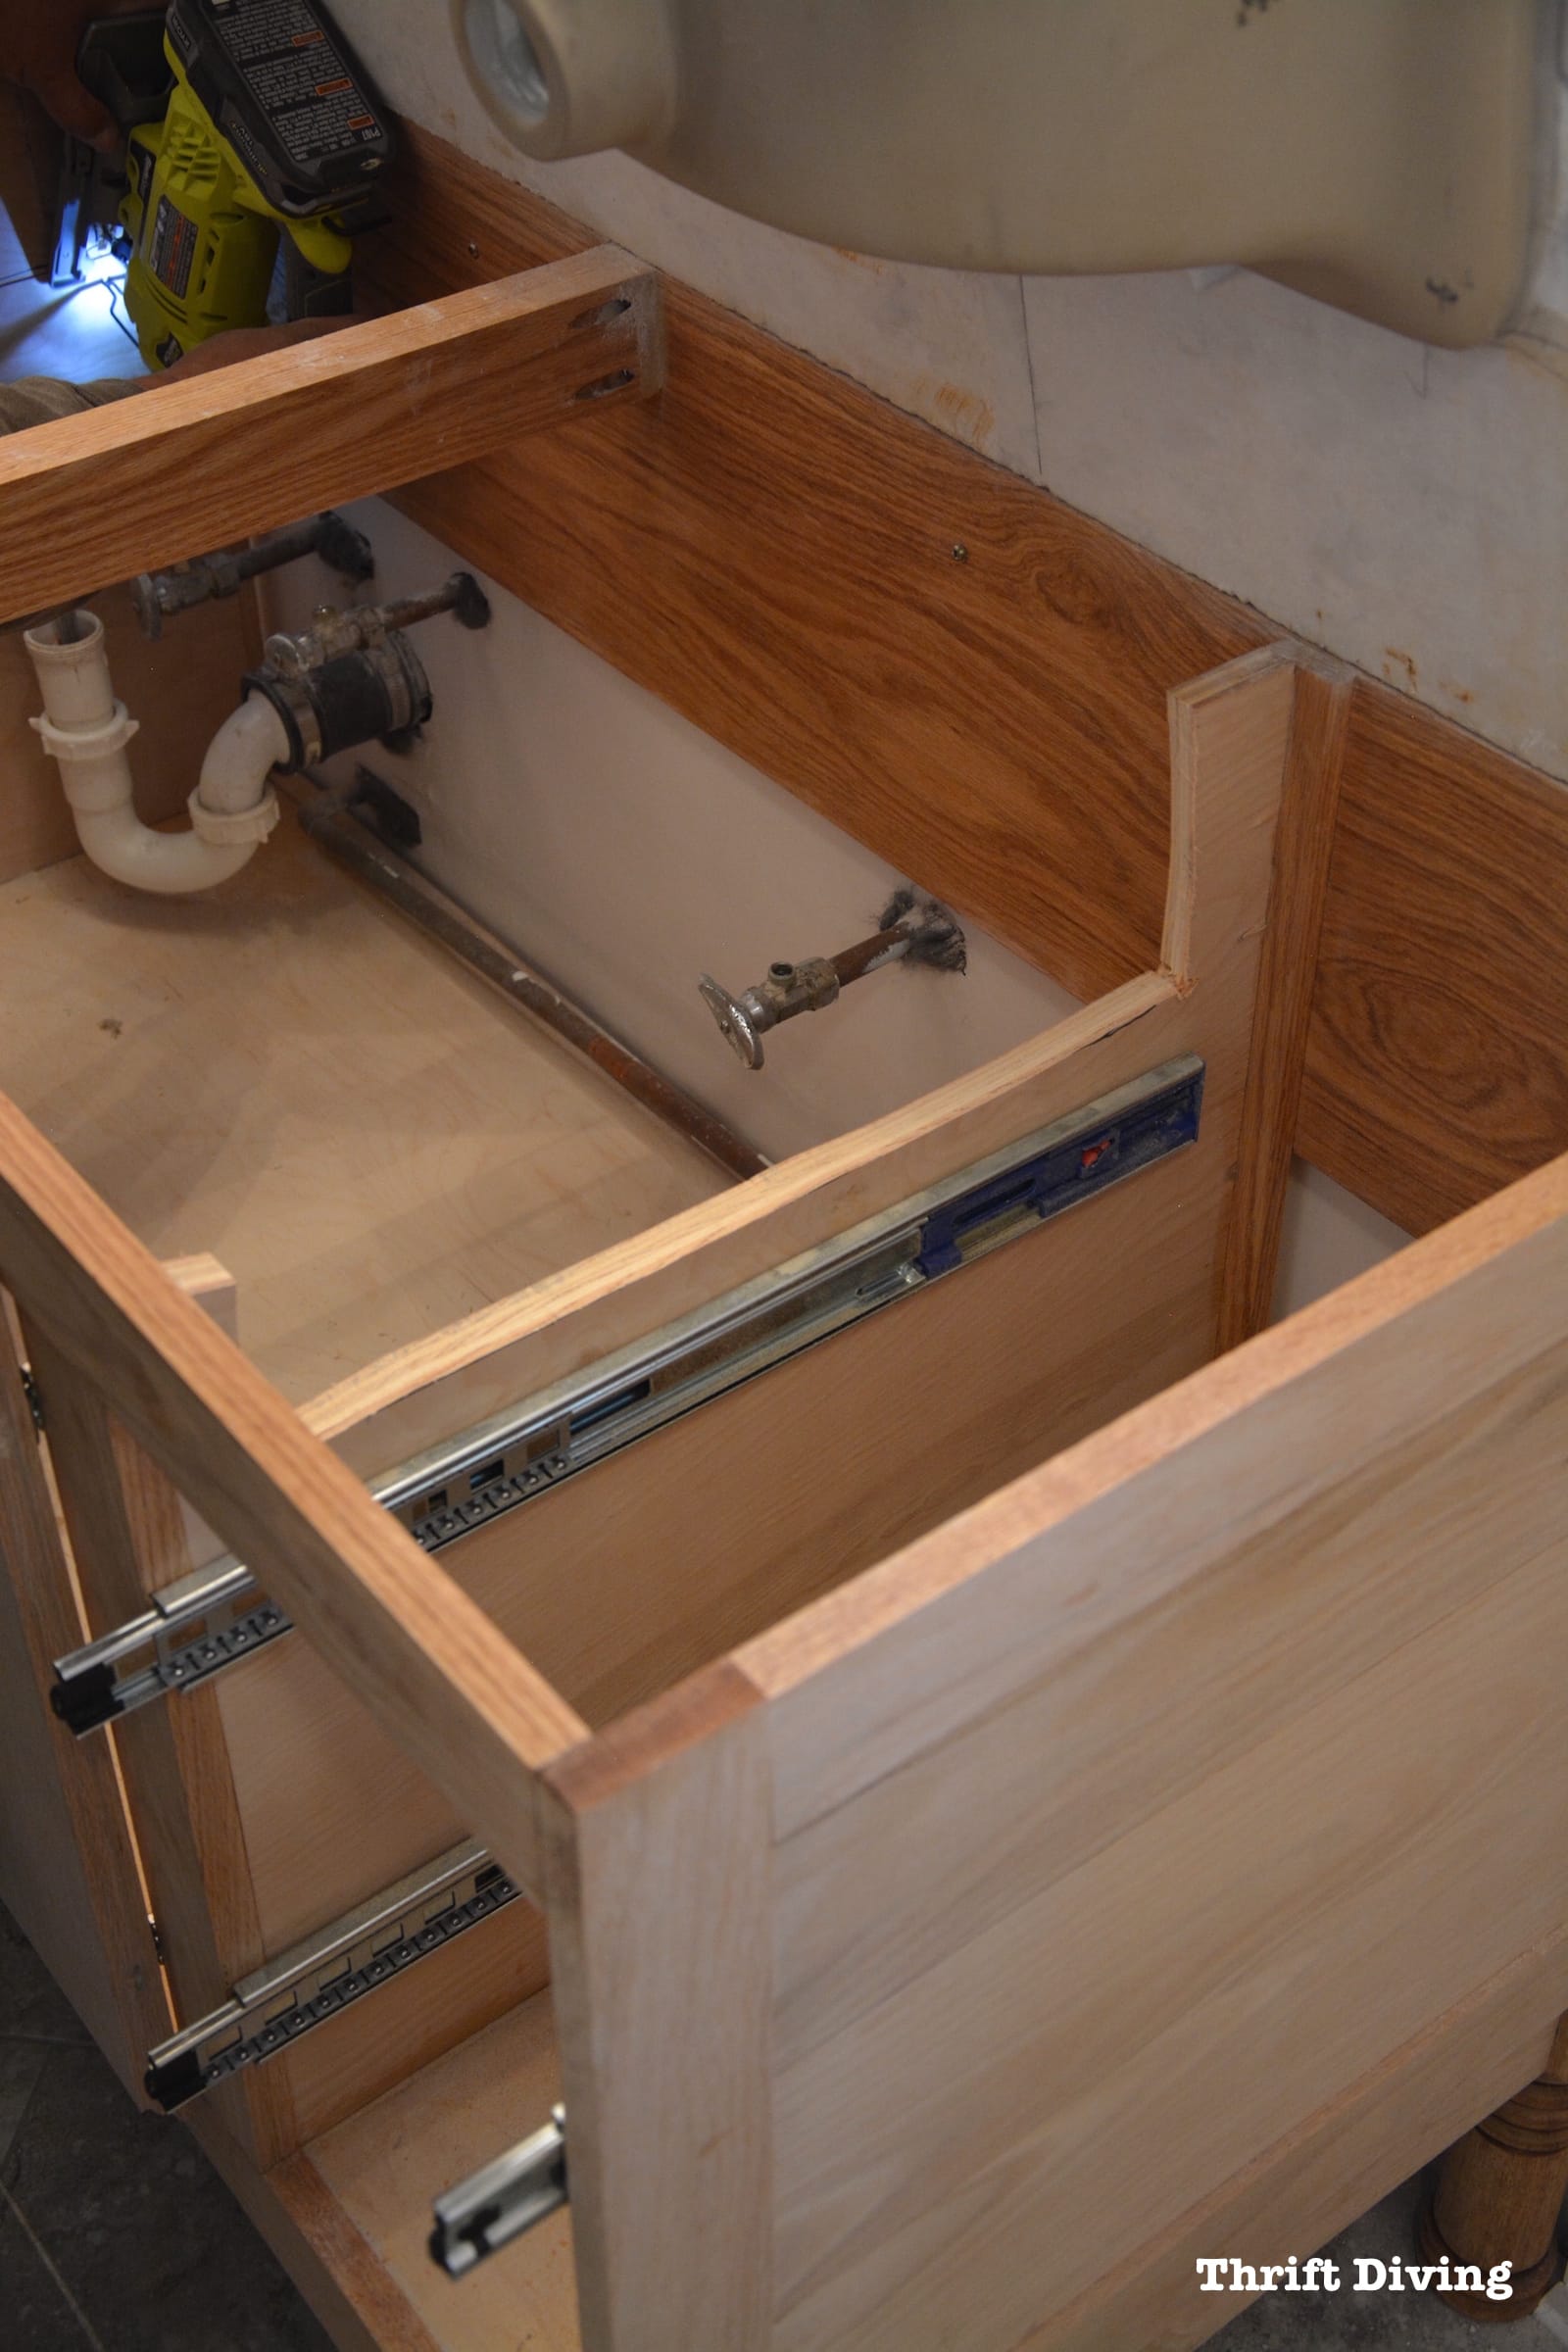
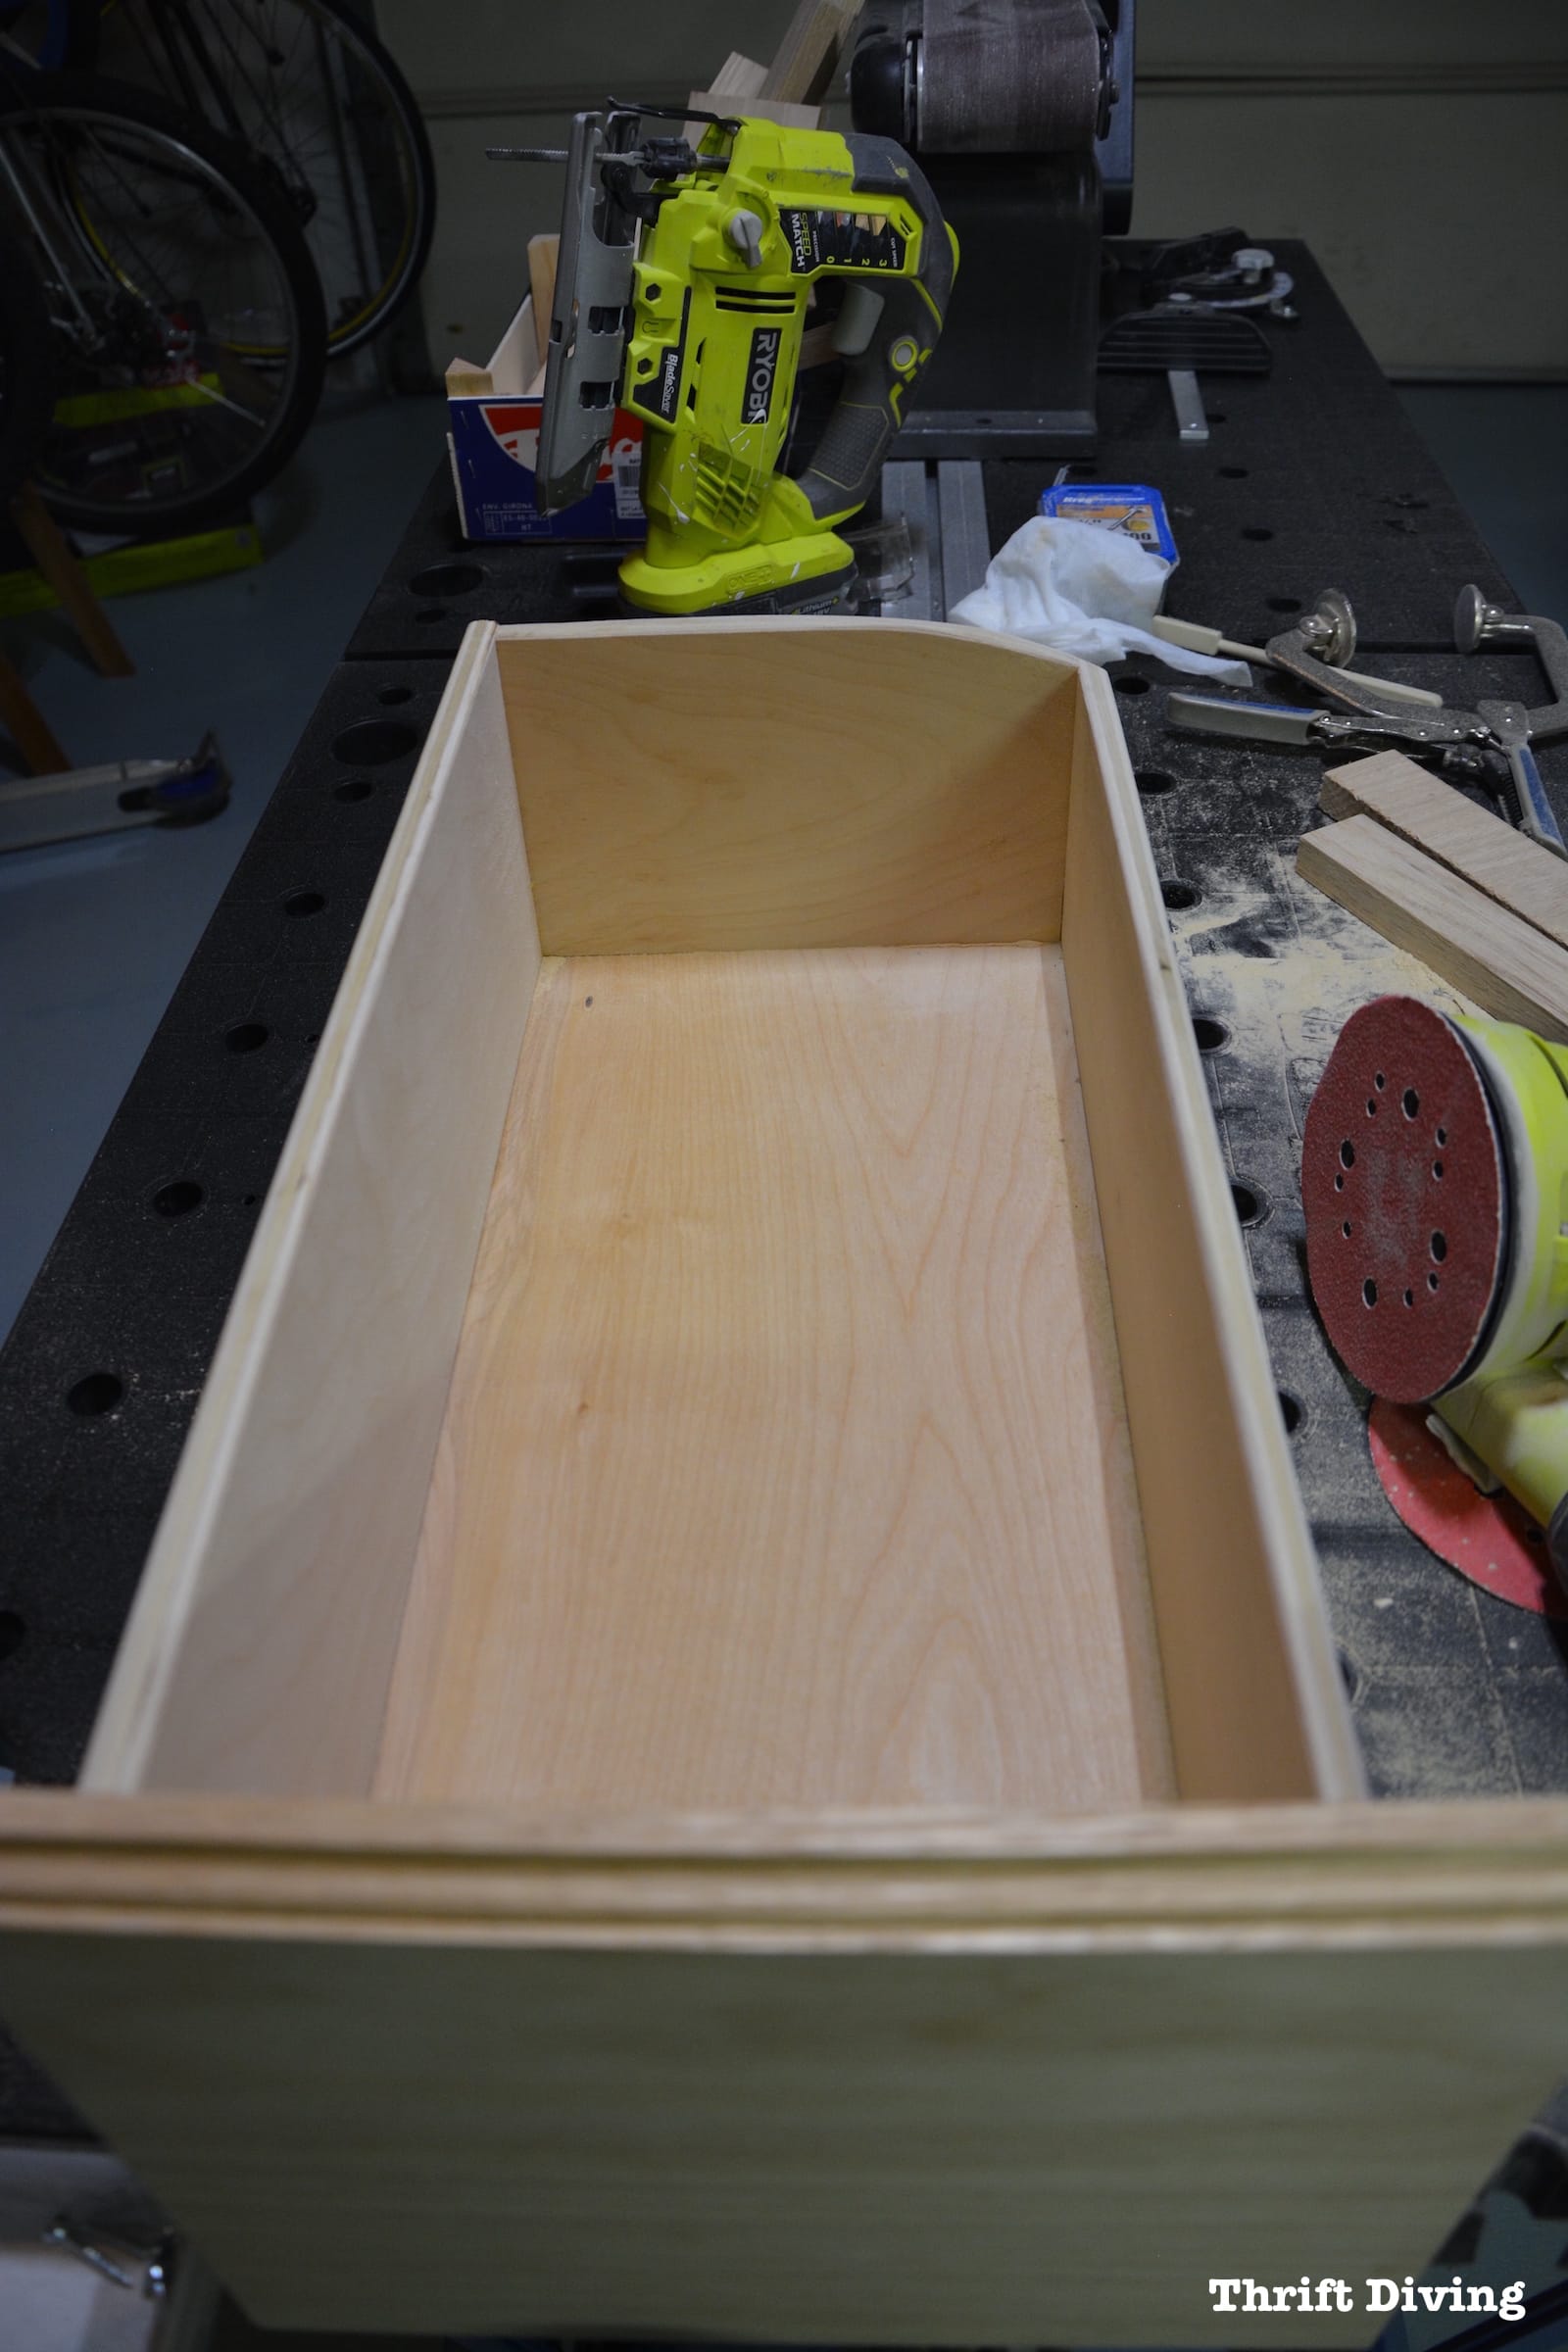
Uh Oh…The Drawers Don't Fit!
So remember this is what it looked like underneath the DIY bathroom vanity?
The sink did a number on my top vanity drawers….
The right-hand side was okay. All I did was sand down the edge a little, and it fit….
But the LEFT side….
I couldn't get the drawer in but just a few inches before the sink prevented it from going on.
So I broke out my orbit sander and sanded the heck out of the drawer!
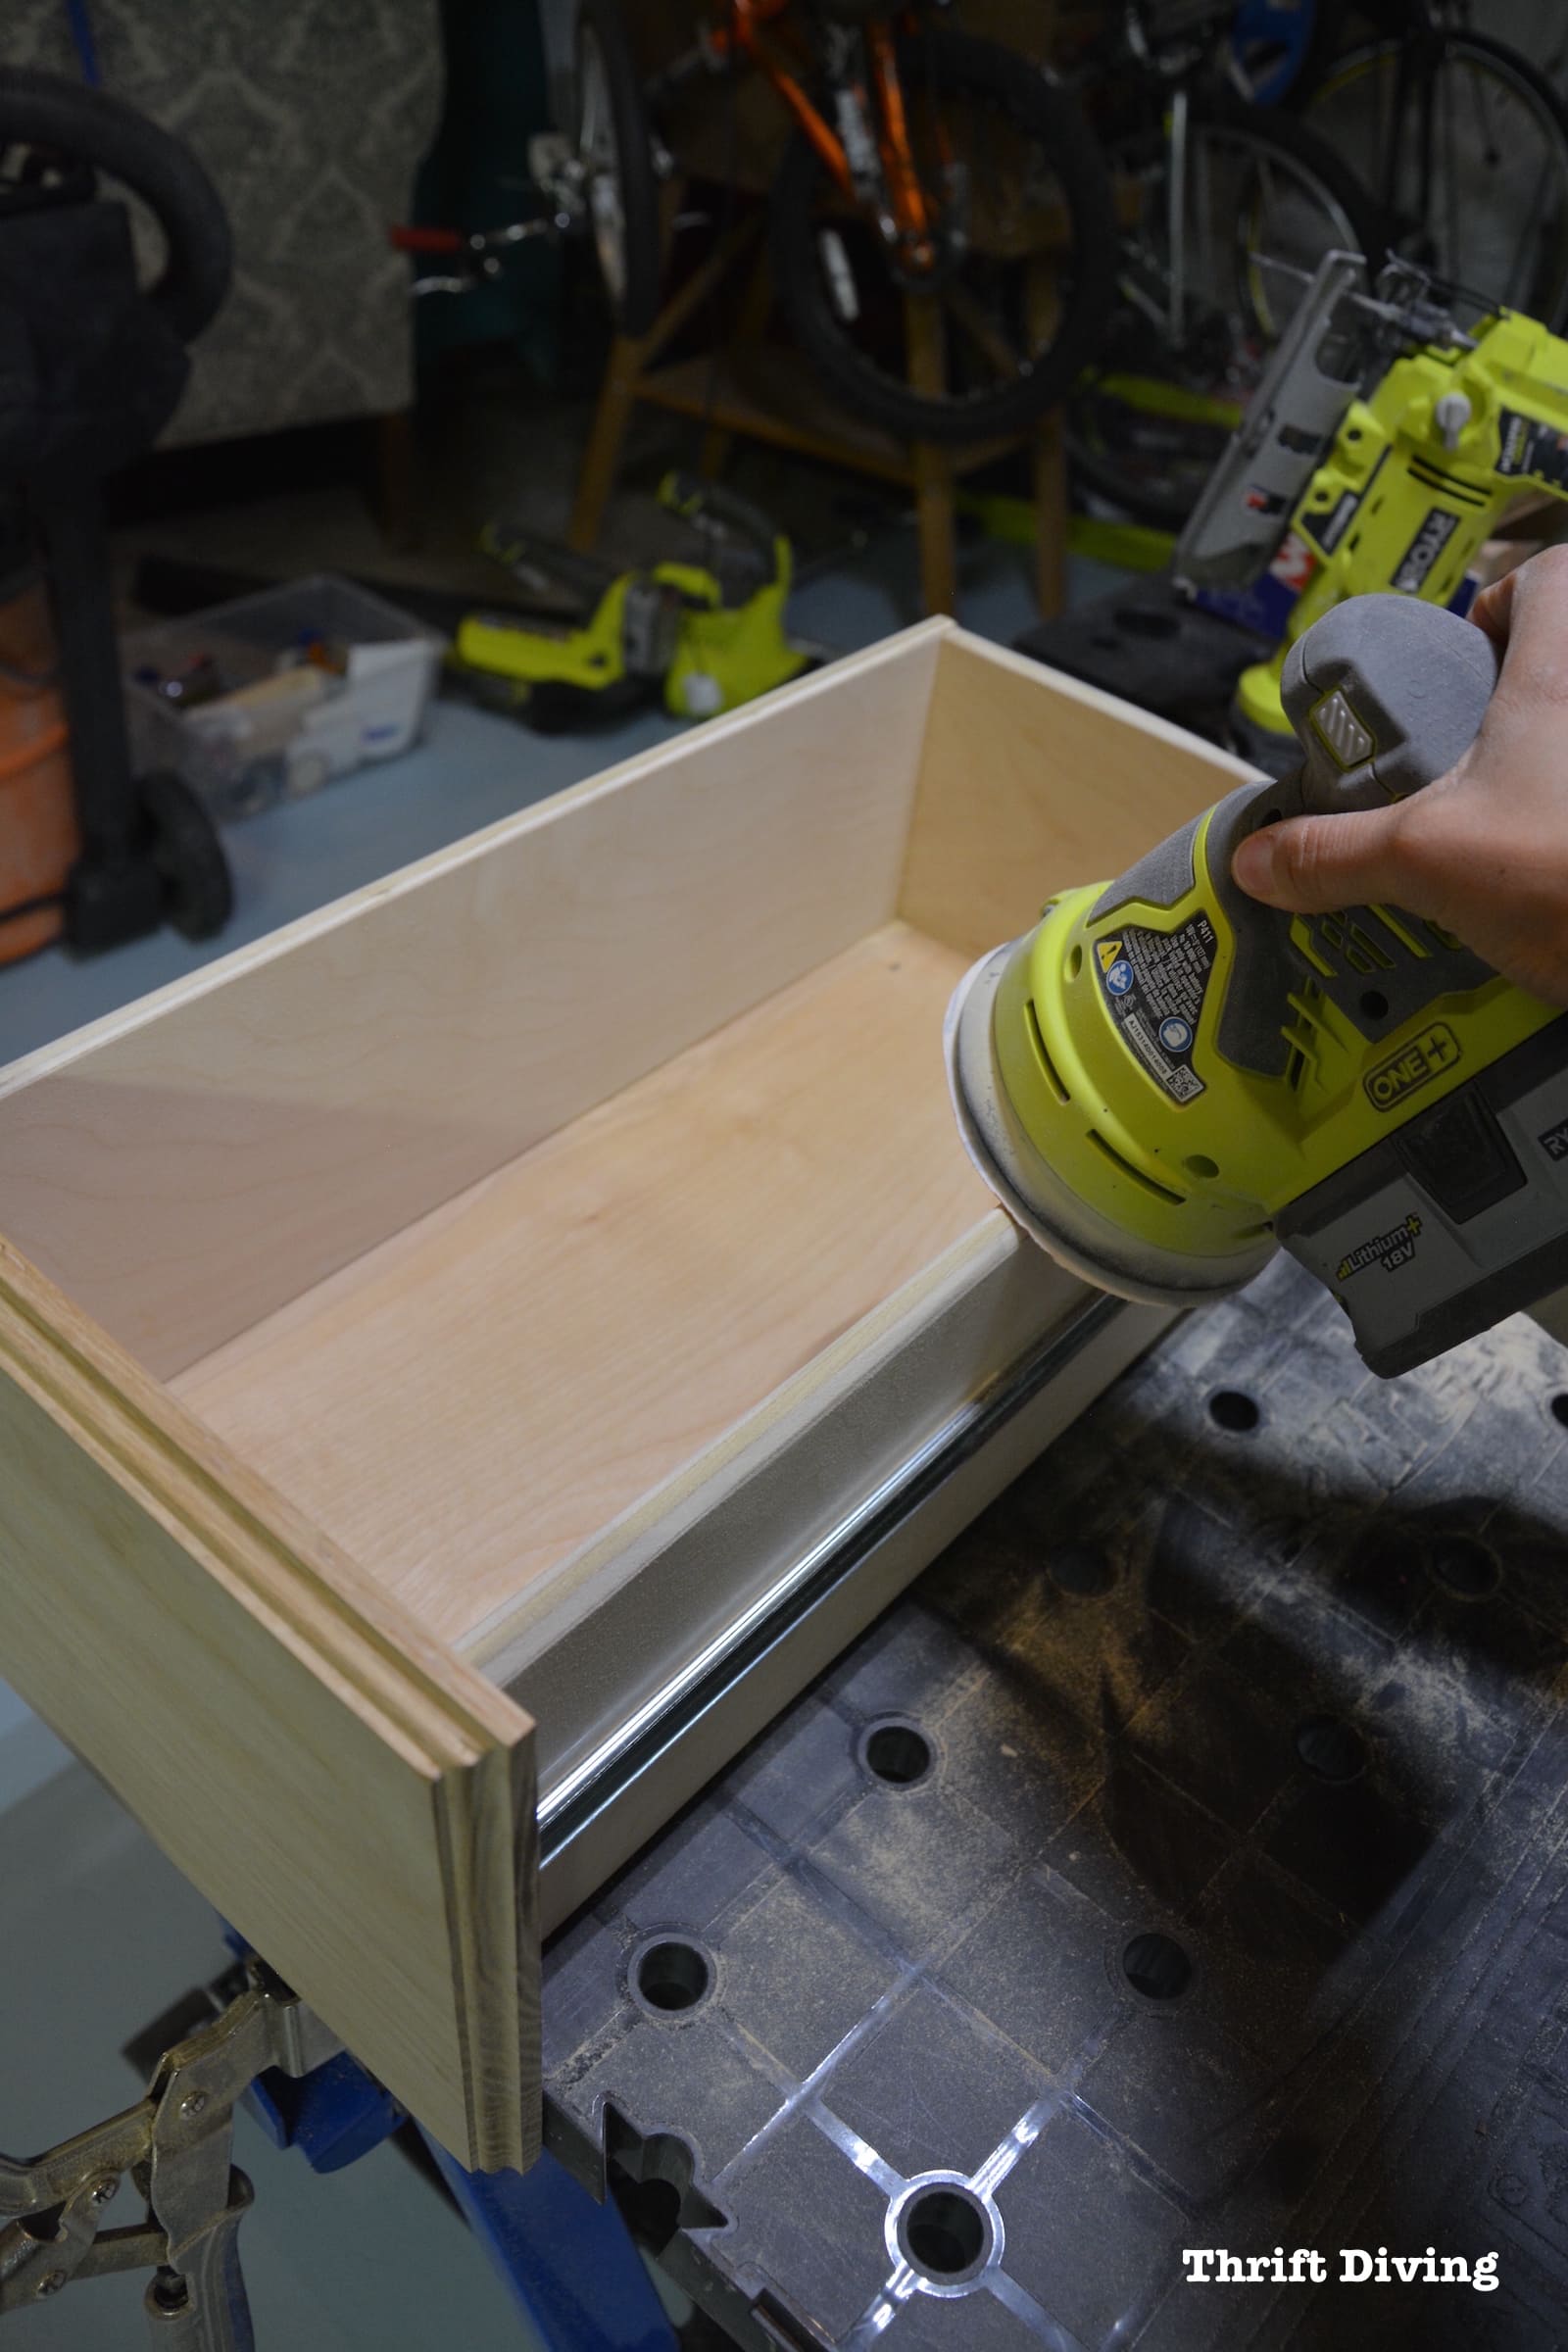
By the time I was done, I had a drawer that looked a bit like a wave. Or maybe a hill. HA!
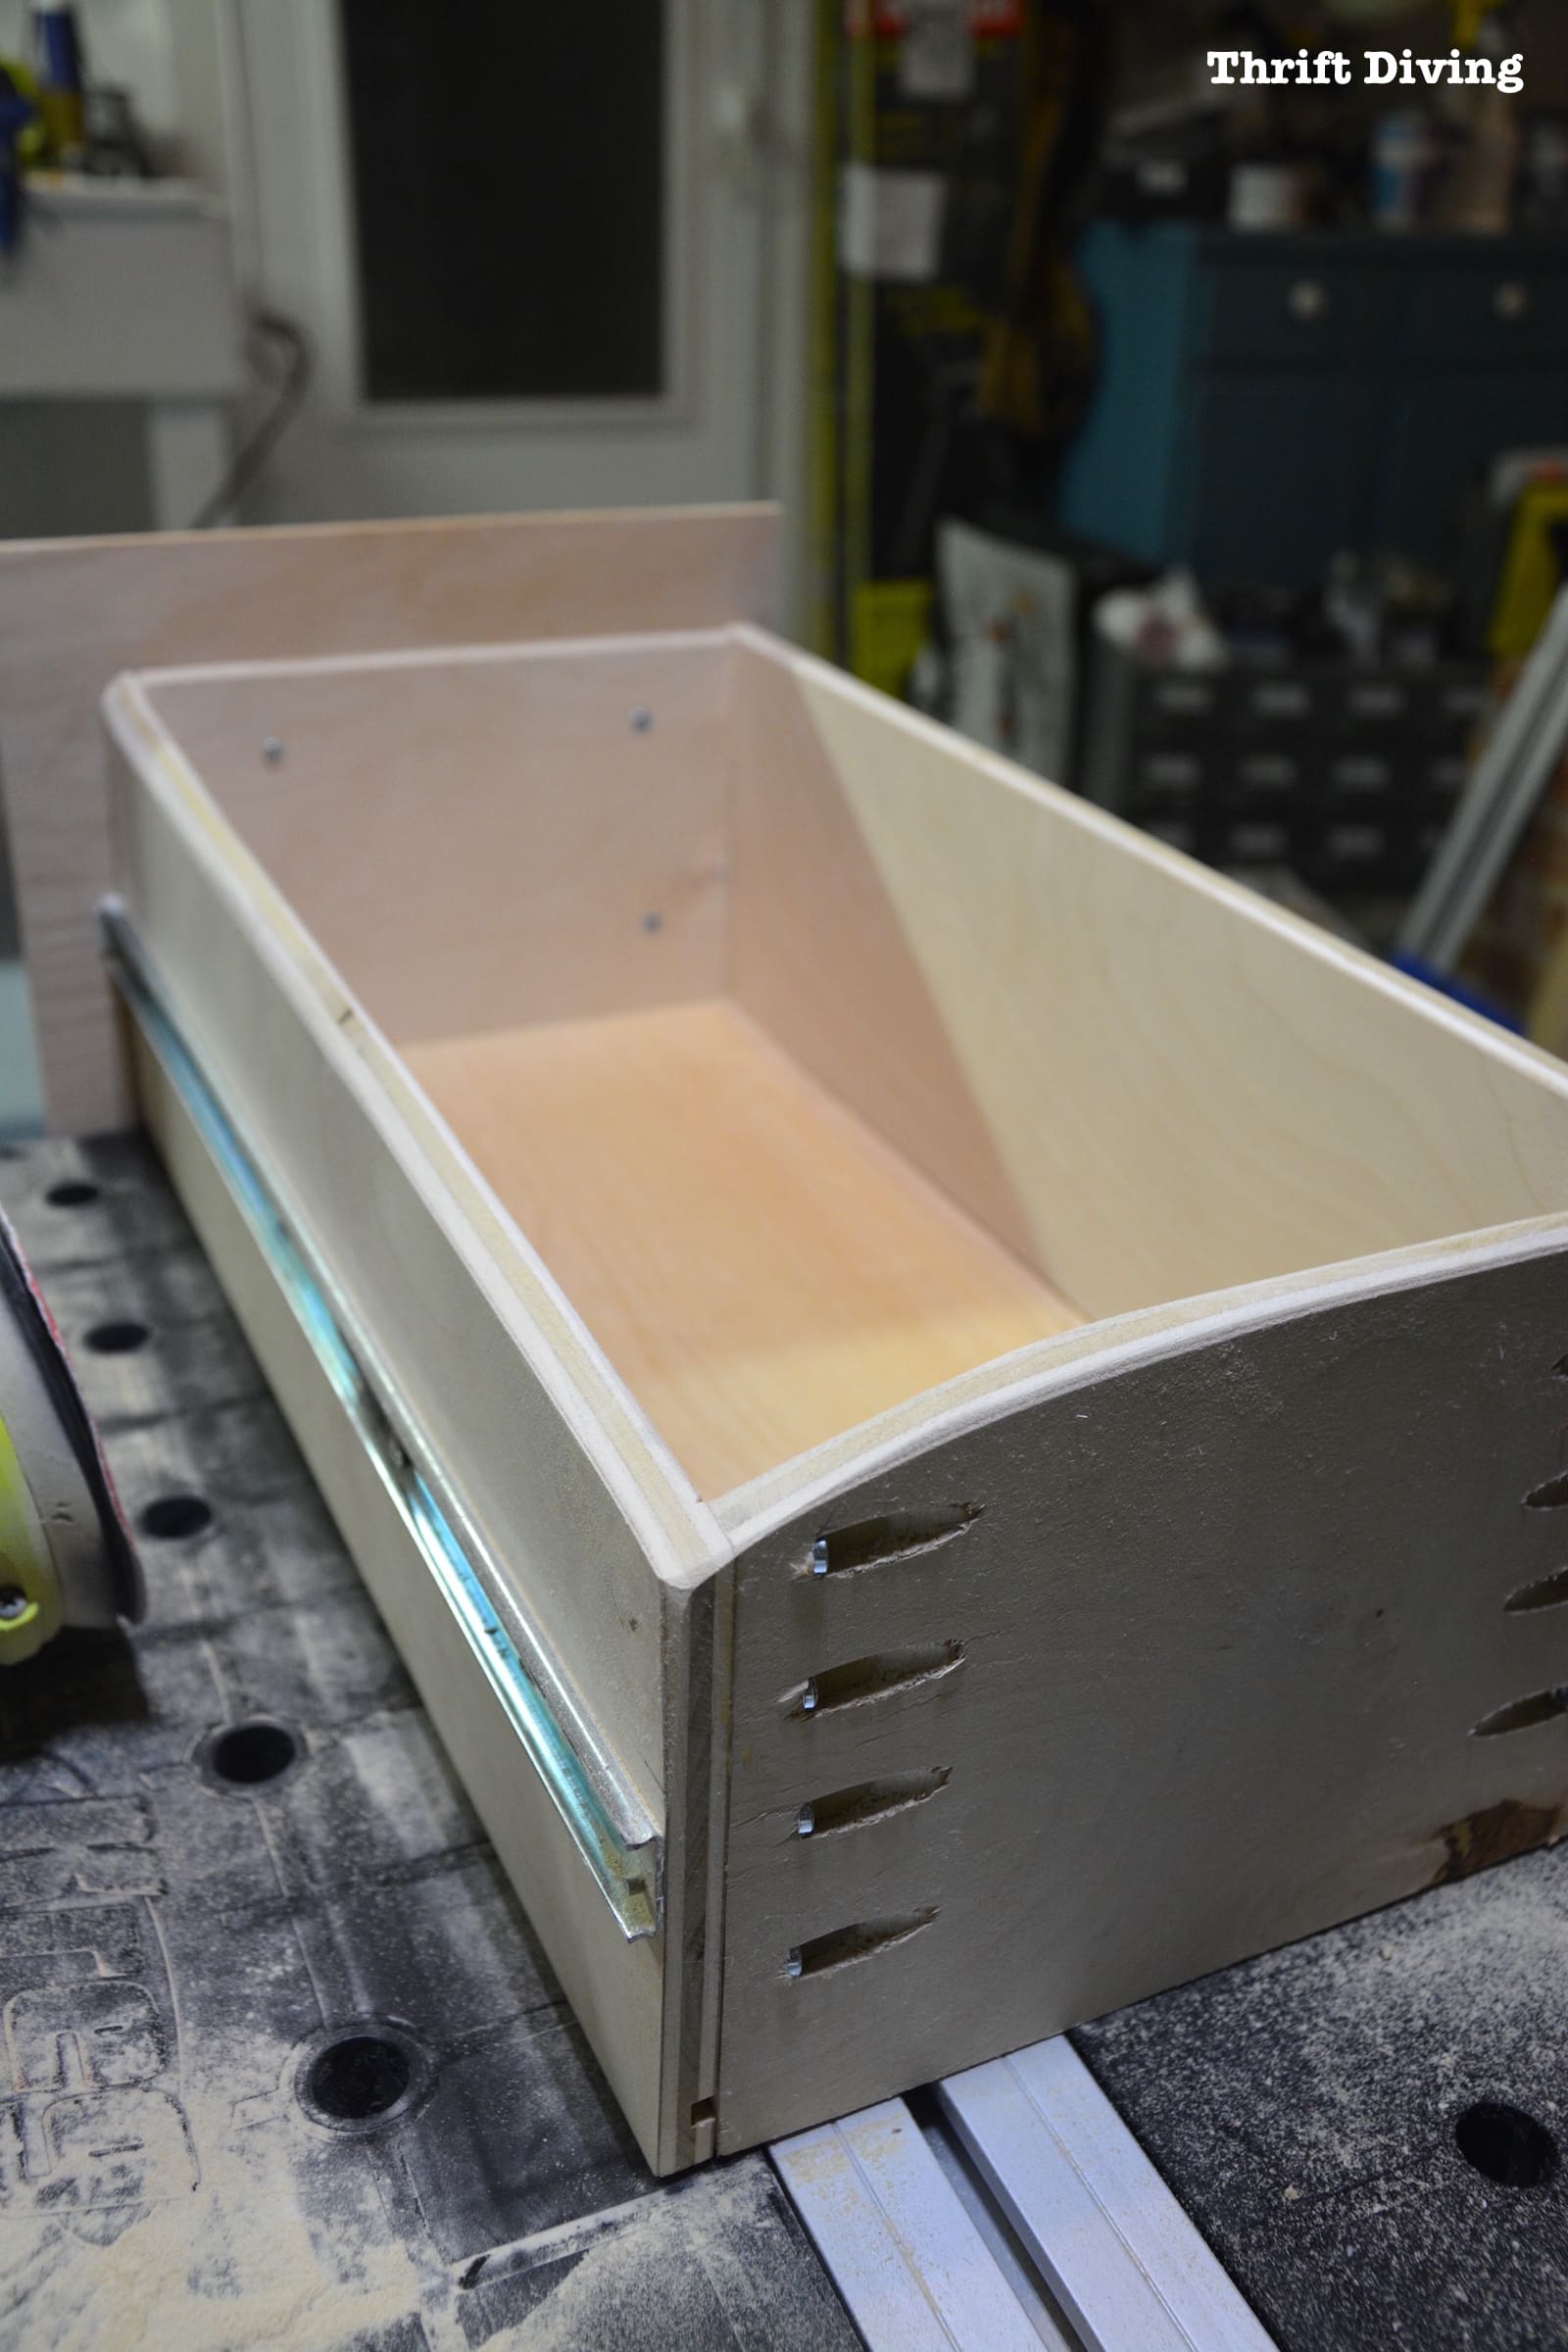
But the good news is that it wasn't allthat noticeable.
And, I could get the drawers in!
So the next step in this series is the final step: adding finishing to the outside DIY bathroom vanity!
Are you enjoying this series? Then be sure to SAVE IT on Pinterest!
![]()
Read the Rest of this Bathroom Makeover Series!
DAY 1: The Evolution of a Master Bathroom Makeover
DAY 4: Picking Out New Flooring: Which One Do You Like?
DAY 6: How to Remove an Old Bathroom Vanity
DAY 27: Removing Wallpaper, Repairing Walls, and Removing an Old Toilet
DAY 29: Installing New Flooring in Our Master Bathroom
DAY 49: The Bathroom Makeover That Would Never End (An Update!)
Day 52: How to Remove a Toilet Yourself
DAY 57: How to Install a Toilet Yourself
Build a DIY Bathroom Vanity – PART 1 – Attaching Legs and Base
Build a DIY Bathroom Vanity – PART 2 – Attaching the Sides
Build a DIY Bathroom Vanity – PART 3 – Creating the Partitions
Build a DIY Bathroom Vanity – PART 4 – Making Drawers
Build a DIY Bathroom Vanity – PART 5 – Making Cabinet Doors
Build a DIY Bathroom Vanity – PART 6 – Adding a Granite Vanity Top
Build a DIY Bathroom Vanity – PART 7 – The Final Finishing Coat
BEFORE & AFTER: The Final Master Bathroom Makeover Reveal!

Download the 5 freebies!

Thrift Diving inspires women to decorate, improve, and maintain their home themselves...using paint, power tools, and thrift stores! Use these 5 printables, checklists, and ebooks to get started!
Success! Now check your email to confirm your subscription.
How To Replace Bathroom Vanity Top With Granite
Source: https://thriftdiving.com/build-a-diy-bathroom-vanity-part-6-fitting-granite-top/
